This section covers the Installation and Setup on Amazon AWS
Choose the Amazon Machine Image (AMI)

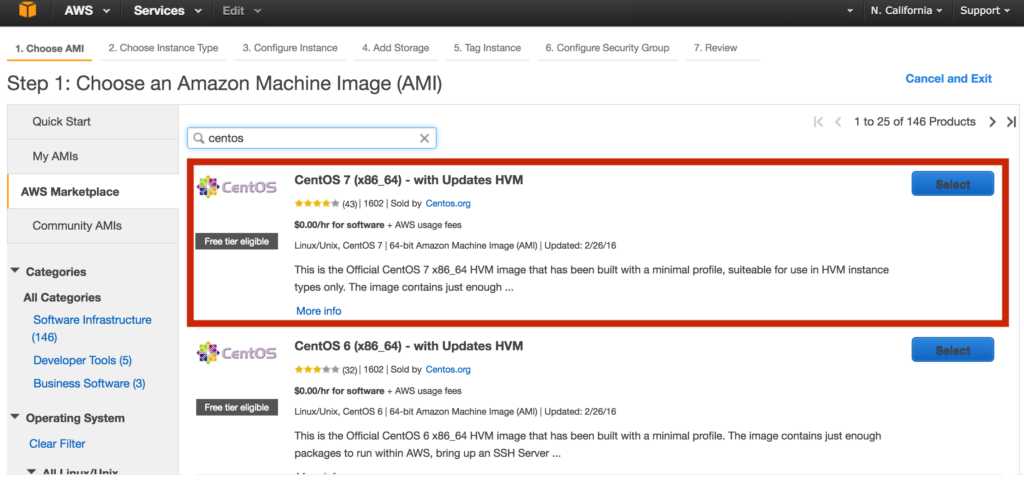
Browse inside the AWS Marketplace tab and search for the centos: than select a CentOS 7 64 bit (what you see in the above picture is fine)
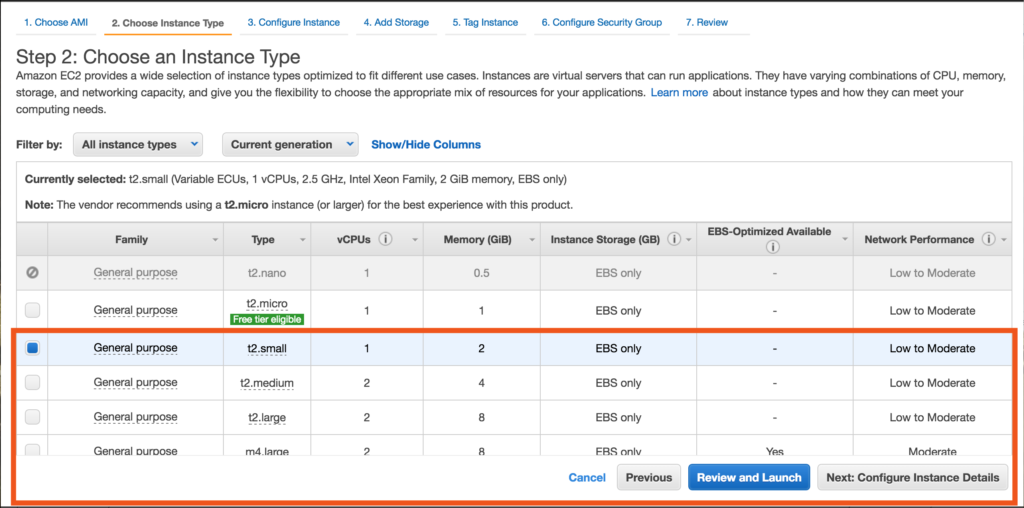
Select the proper size (min. 2 GB RAM onwards)

Add storage

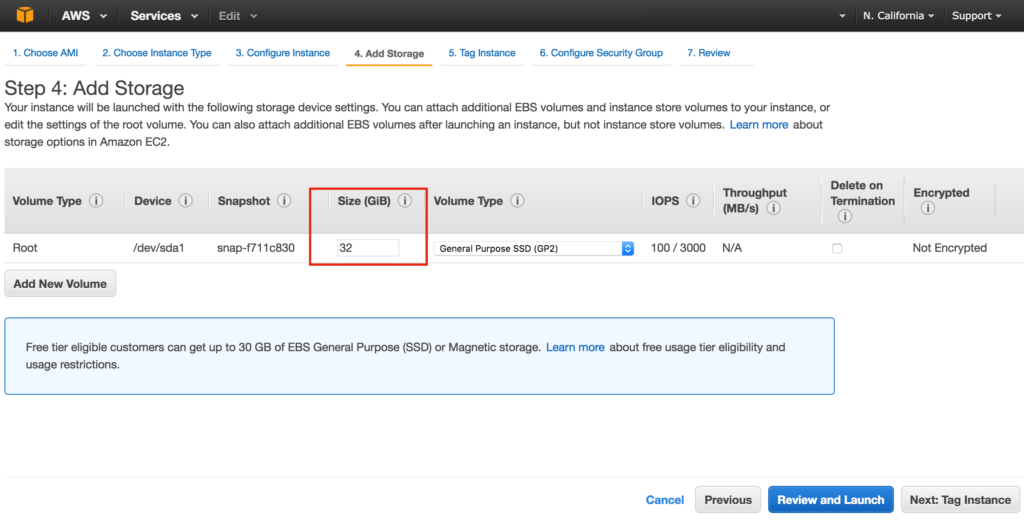
The standard 8GB storage provided with the image is NOT enough. You need to go for minimum 32 GB.
Remember to configure a proper SWAP AREA (at least the double of the RAM): see how to do it on Amazon documentation here
Add the additional storage to the default 8GB storage
Check the partitions with the following command:
lsblk
Result example:
Launch the following 4 commands
(let’s wait it finish…)
Reboot the server
(it’s important to perform the reboot at this point)
check issue the following command again:
lsblk
Result example:
Now you are ready to install XCALLY Motion, back to the server installation guide (step #4)
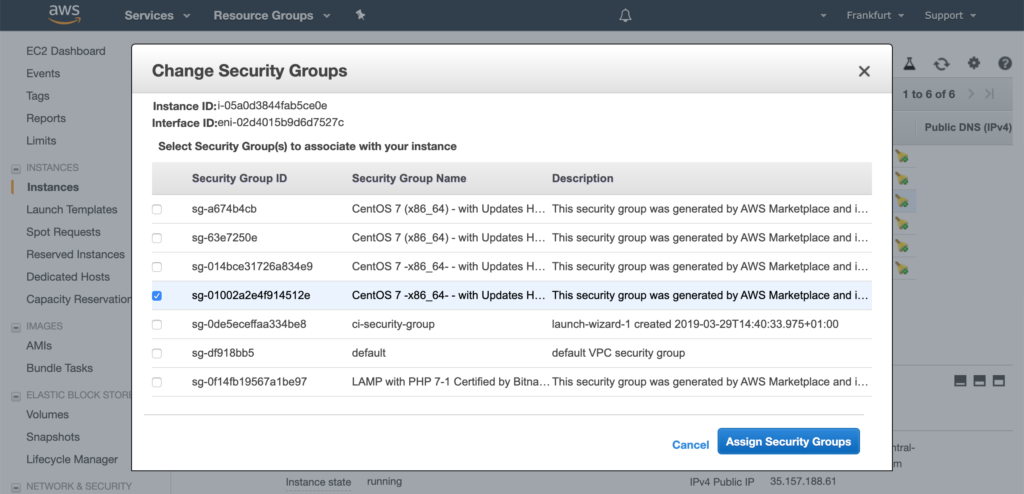
Security group
By default AWS associate the created instance to a Security Group. You will need to edit it and properly open the TCP and UDP ports in order to be able to access and use XCALLY Motion (i.e. TCP 80, 443, UDP 5060 and more…)

Network settings
Post-installation note
Usually your Amazon AWS instance will run behind a NAT.
When you install the XCALLY server behind NAT, you need to properly setup the parameters externip and localnet
(otherwise you will probably have no audio properly working)
You can setup those parameters inside the Web section Settings - Network
Suppose you have the following network details on your AMAZON AWS XCALLY server:
Private IP address and mask configured inside the Linux machine = 192.168.5.37 mask 255.255.255.0 (ifconfig Linux command to check)
Public IP address to reach the server = 54.233.4.6
It means you will need to configure the following Settings - Network parameter on the XCALLY MOTION interface:
externip: 54.233.4.6
localnet: 192.168.5.0 mask 255.255.255.0


 You DO NOT need to setup externip or localnet if the XCALLY server is NOT behind a NAT


