How can you send/receive Viber Messages from XCALLY?
 XCALLY Motion Openchannel offers the integration of Viber IM as a New Channel, allowing:
- the Customers to interact with your Agents sending direct messages to your Viber Account;
- your Agents to receive the incoming messages on a special Viber Queue and to reply from the XCALLY Motion standard GUI;

- the Customers to receive the messages back on Viber.
In order to make it work you only need to configure an Openchannel Account and to create a dedicated queue in the Openchannel Section:
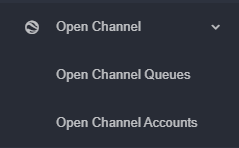
and to configure the Viber Account.
The integration allows you to exchange text or attachments. To send both text and attachments, you must send more messages
Requirements
Before configuring the Viber Open Channel you need to:
- Create a Viber Public Account
- Download and Modify the Viber Plugin Configuration
Viber Public Account Creation
Go to the https://partners.viber.com/login and insert your country and phone number (this will be used to receive the verification code):
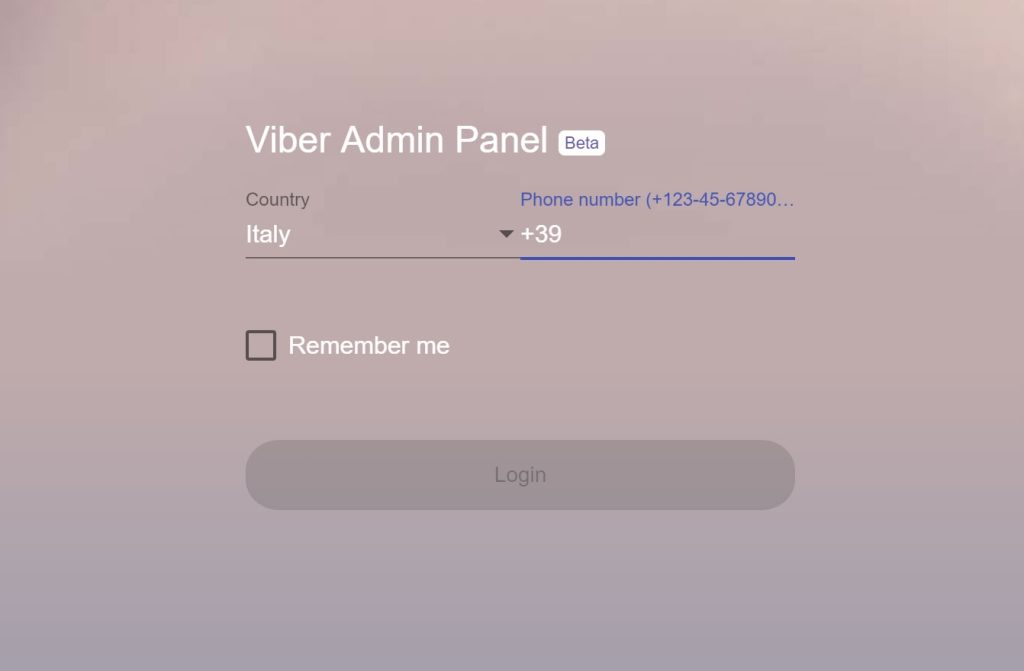
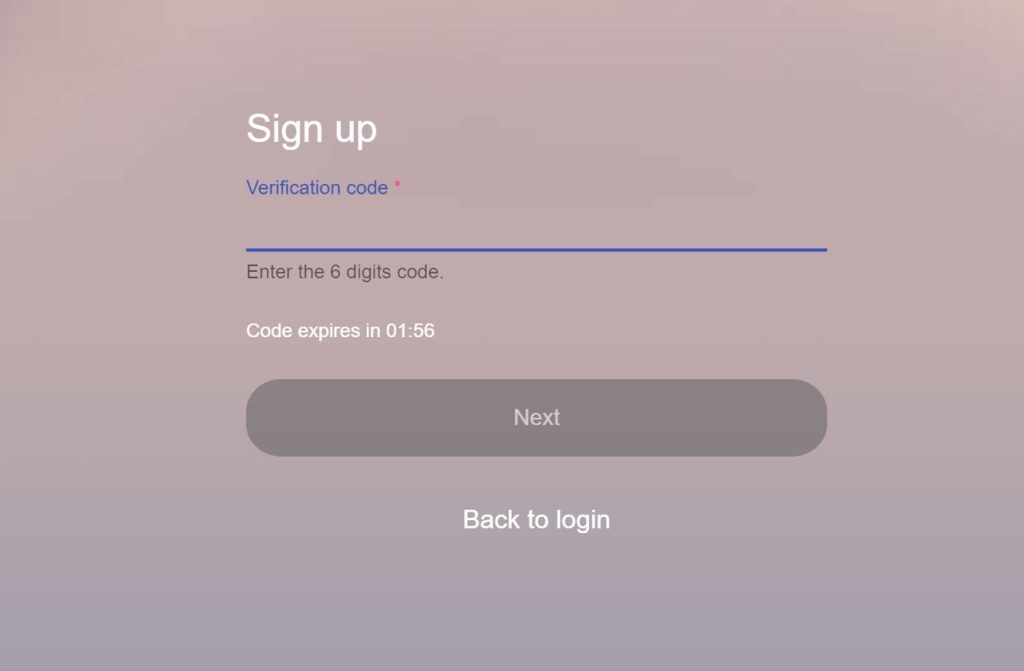
Now you can go ahead and create your account:
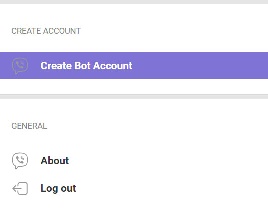
Fill all the information:
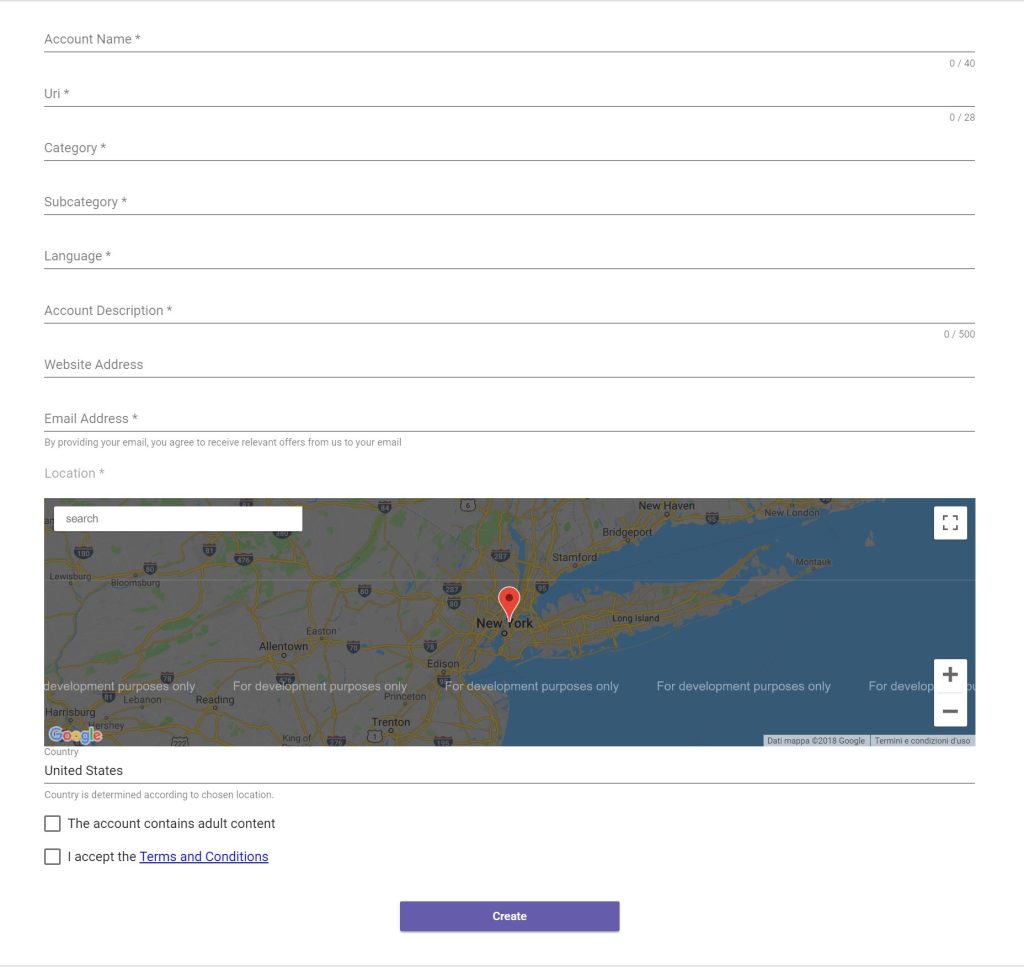
At the end, the Account will be created as in the following example:
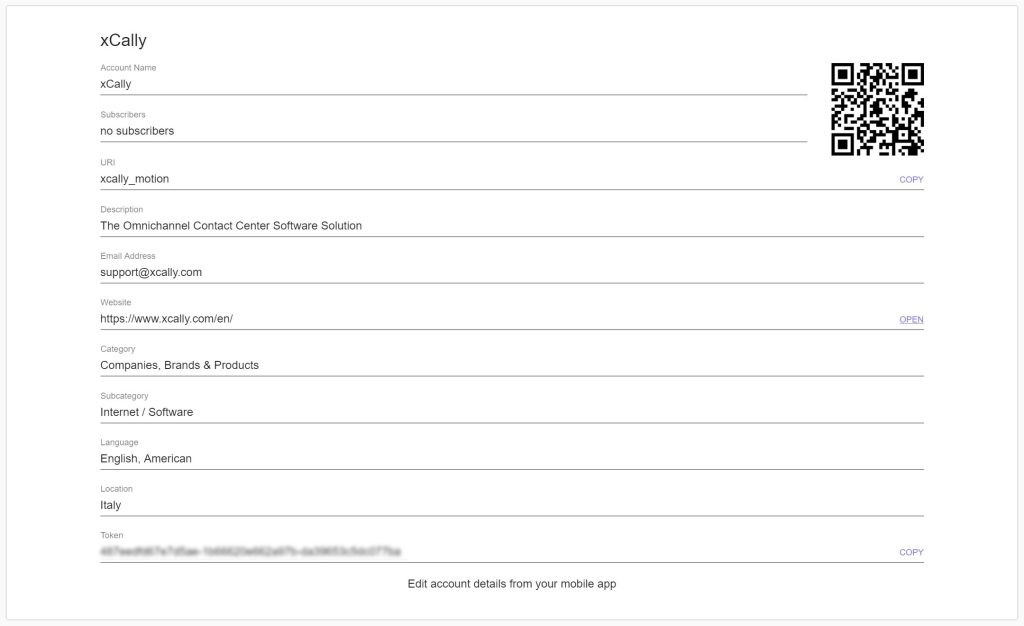
Copy the Token value and insert it in the Viber Integration Plugin form: it will be copied as well in the Viber script file config.json stored in your local /server/config directory (you will be asked to reload it after the update).
About Viber

All existing Viber Public Accounts can be retrieved in the Discover page (Note: at least 6 users must be already using the Account to make it appear on the page).

For more information go to https://support.viber.com/customer/en/portal/articles/2856551-increase-the-reach-of-your-public-account.
Setup the Open Channel Account on XCALLY Motion
- Download and install the Viber Plugin you find in the App Zone Page (it will be inserted in the Plugins section):
- Create a new Open Channel Account in your XCALLY Motion server in the Openchannel Section:
and add the Agents to it. Complete the Open Channel account configuration (Disposition, Action, etc);
- Create a new Open Channel Queue:
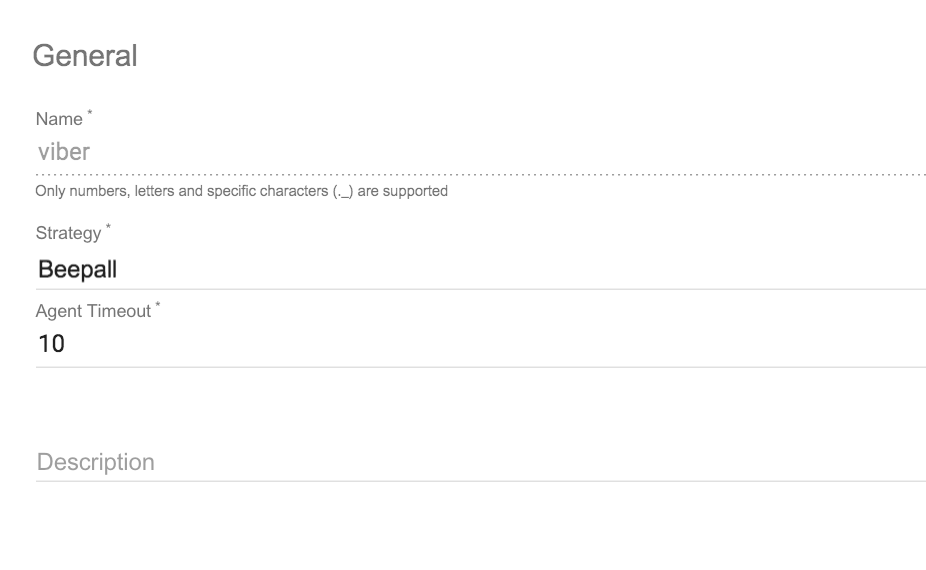
and the Add Agents to it;
- Configure the Plugin for Viber Integration panel inserting the authorization token you got when you created the Viber account:
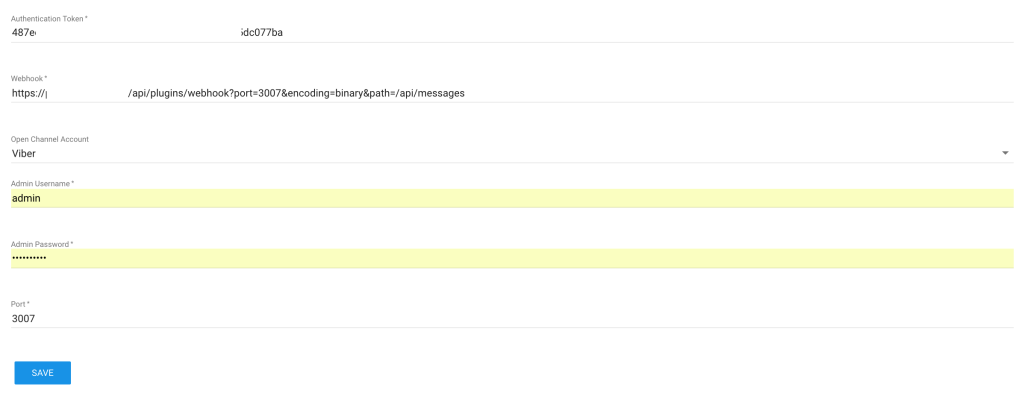
- Reload the Plugin after the change.
Modify the Plugin Script
The plugin is available on the App Zone Page: just download and modify it as told before and the service is ready to be used!
config.json
{
    "authToken": "VIBER_AUTHENTICATION_TOKEN",
    "webhook": "https://{HOSTNAME}/api/plugins/webhook?port={PORT}&encoding=binary&path=/api/messages",
    "openChannel": {
        "id": "",
        "receiveUrl": ""
    },
    "authentication": {
        "username": "",
        "password": ""
    },
    "port": 3007
}
