 Here you find the configuration steps for the SMS providers interface supported by XCALLY Motion SMS Channel.
General Requirements
- You need a valid account with positive balance on the chosen platform
- You need a SMS-capable phone number on the chosen platform
In the following sections you find how to setup the Twilio, Skebby Clicksend, CSCTelecom, Clickatell, Connectel, Infobip Providers.
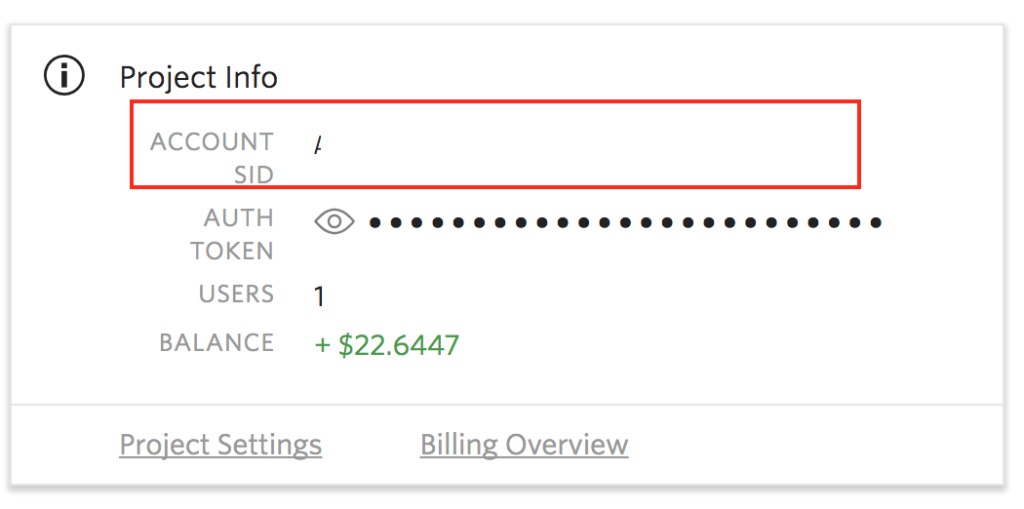
Retrieve Account SID
The Account SID information is the same for each Twilio account and it could be retrieved in Twilio Console
Retrieve Auth Token
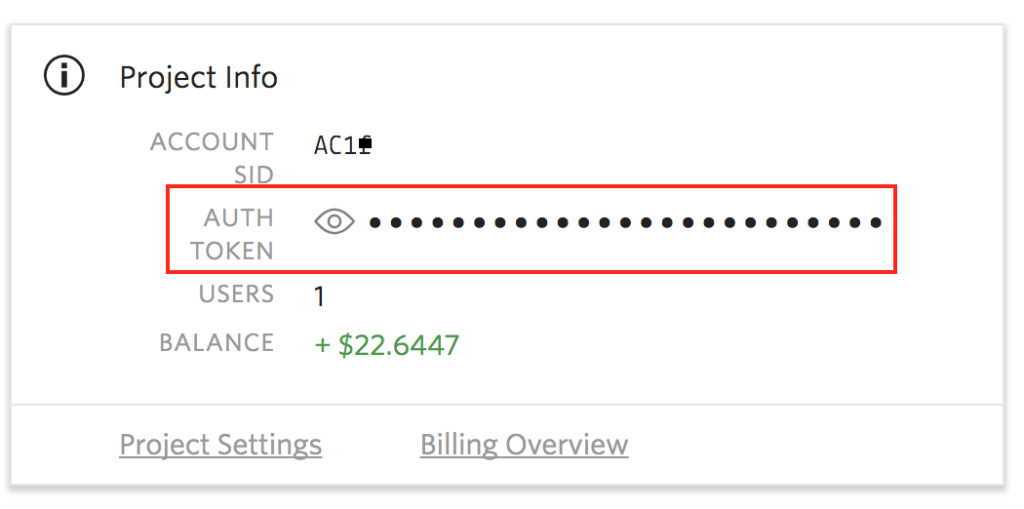
The Auth Token information is the same for each Twilio account and it could be retrieved in Twilio Console
Configure incoming message
In order to receive incoming SMS message in your XCALLY Motion Account, you need to properly configure the Messaging options in Twilio Phone Number configuration:
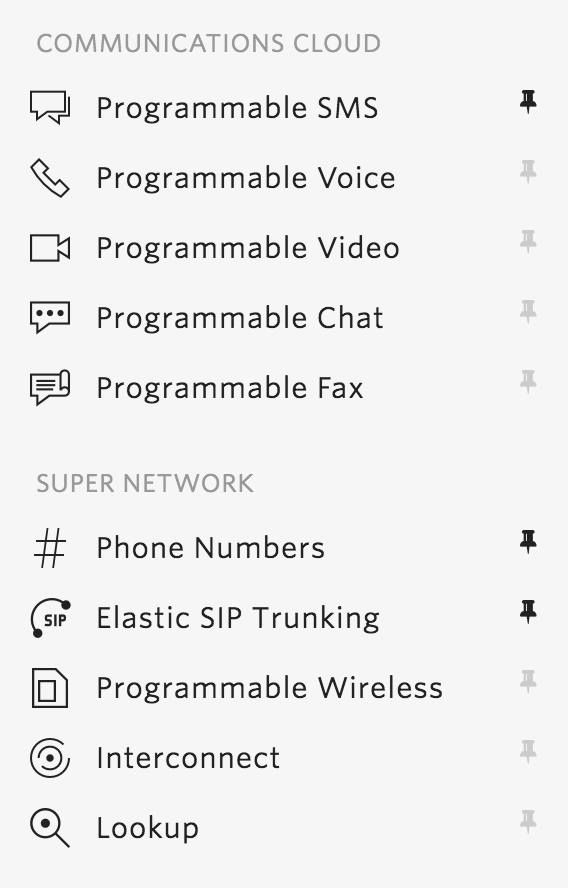
- Open Phone Numbers section from Twilio Console
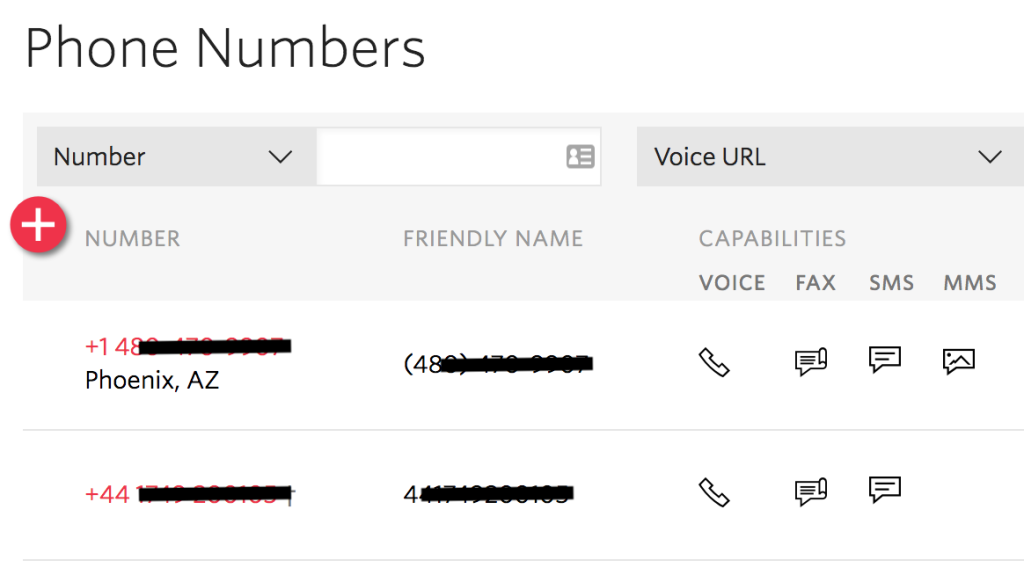
- Select the Phone Number from the list
- Configure the Messaging properties as displayed in the following image

The Webhook property must be retrieved from XCALLY Motion SMS Account
Troubleshooting
Please check the Debugger section inside your Twilio management console. You can find error messages there in case of setup mistakes.
i.e. the below Twilio debugger messages mean that you did not setup a proper SSL https certificate inside your XCALLY machine:

Skebby Configuration
In the following section we will provide you a brief description on how to properly configure a Skebby account on XCALLY Motion SMS Channel.
Configure incoming message
In order to receive incoming SMS message in your XCALLY Motion Account, you need to properly configure the Sms Automation settings in Skebby portal:
- Open Receive SMS settings
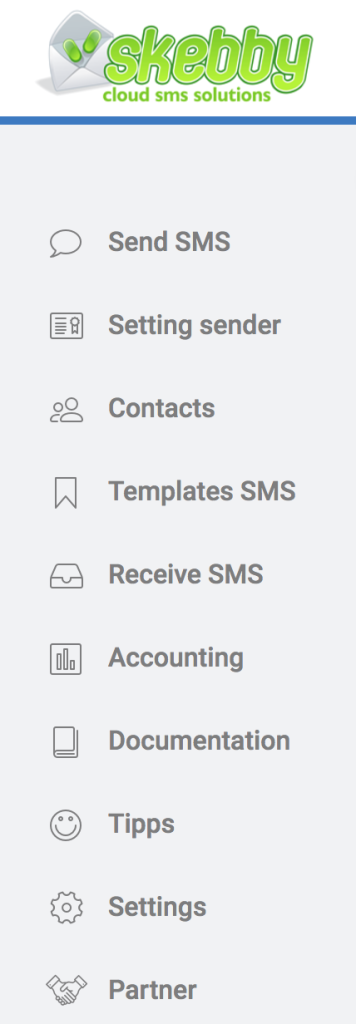
- Add New SMS Automation rule

- Configure the rule properties as displayed in the following screenshot
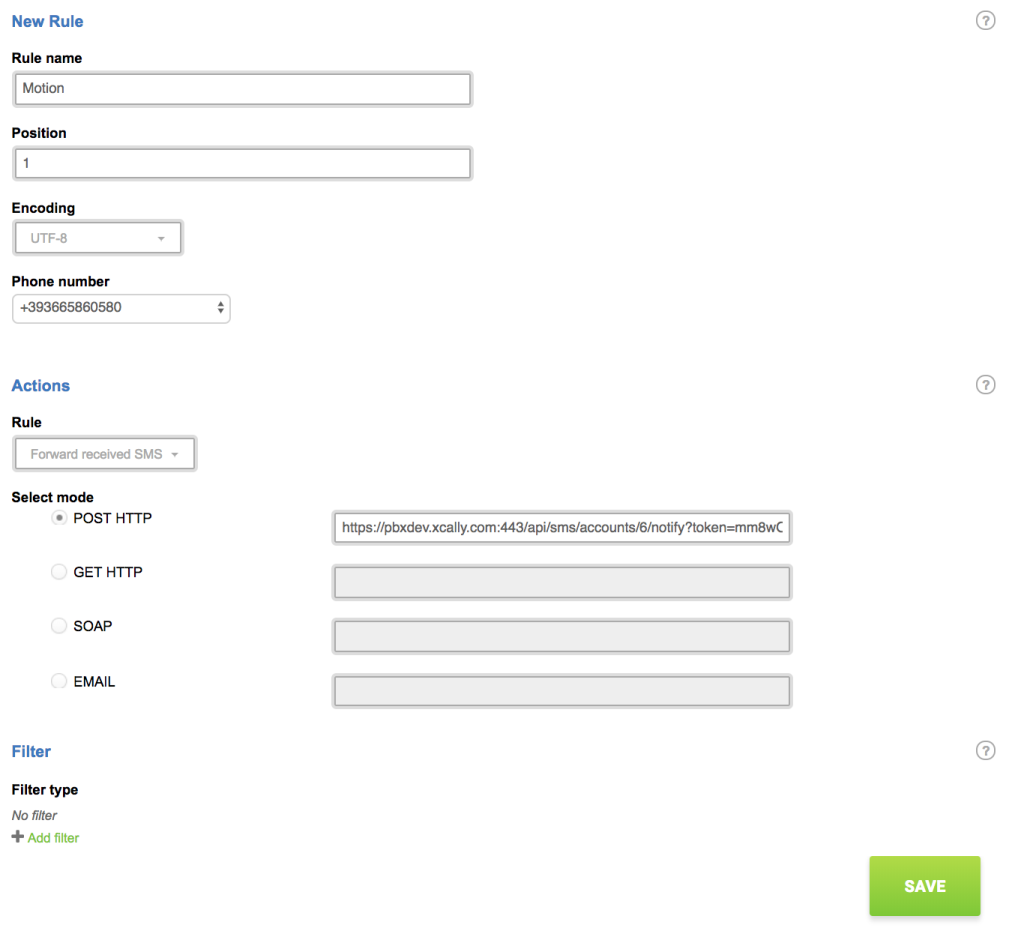
Please be sure that Encoding property is UTF-8 and mode is POST HTTP
The POST HTTP property must be retrieved from XCALLY Motion SMS Account
Configure delivery report
Remember that this option is working if you select Classic+ as method: the message status checkmark is updated when the positive delivery report is received by Motion
In order to receive the Delivery Report for outgoing SMS messages, you need to properly configure the Notify Url property in Skebby Advanced Settings:
- Open Settings – Advanced Settings

- Configure the Settings Notify Url property

Please be sure that method is POST
The Settings Notify Url property must be retrieved from XCALLY Motion SMS Account
Connectel Configuration
In the following section we will provide you a brief description on how to properly configure Connectel account on XCALLY Motion SMS Channel.
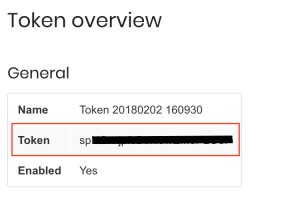
Retrieve Auth Token
The Auth Token must be generate and it could be retrieved in Connectel Account
Configure incoming message
The task is not automated. Please contact Connectel Helpdesk to set the Webhook URL: it must be retrieved from XCALLY Motion SMS Account
Configure delivery report
Remember that the message status checkmark is updated when the positive delivery report is received by Motion
In order to receive the Delivery Report for outgoing SMS messages, you need to properly configure the Callback URL property in Token Settings:
- Open Account – Authentication tokens
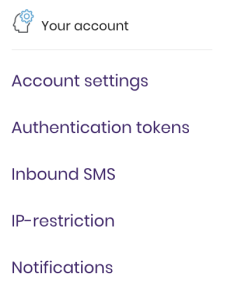
- Select Authentication token used in SMS Account

- Open Settings
- Configure the Callback Url property
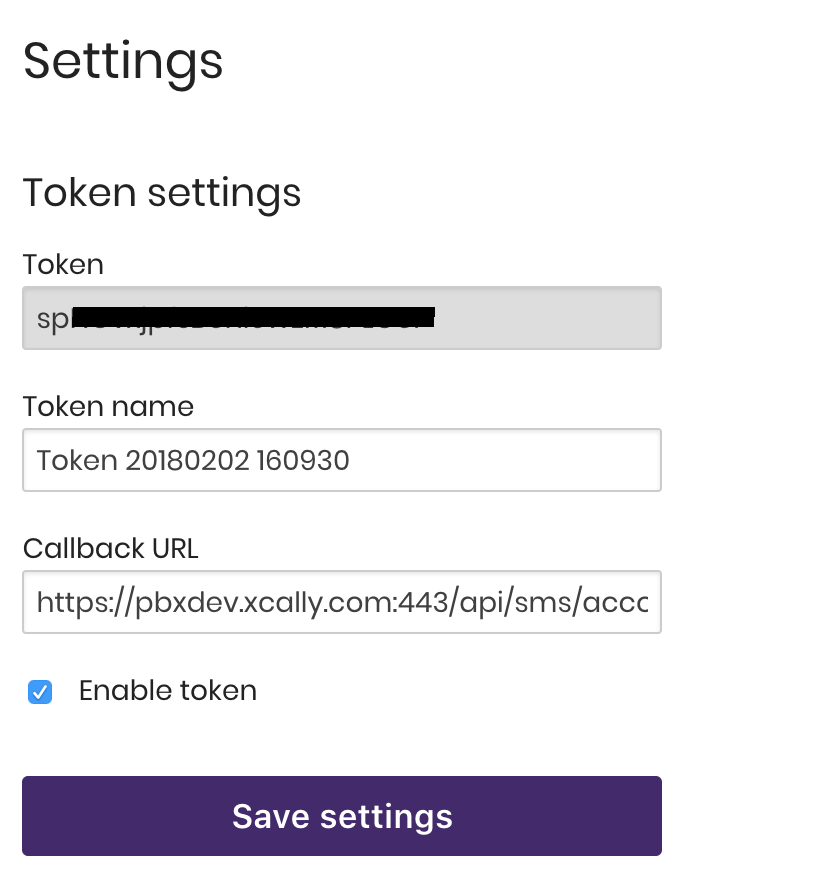
The Settings Notify Url property must be retrieved from XCALLY Motion SMS Account
ClickSend Configuration
In the following sections we will provide you a brief description on how to properly configure a ClickSend account on XCALLY Motion SMS Channel.
Retrieve Password/API Key
As alternative to Password account, you can fill the password field with API Key property.
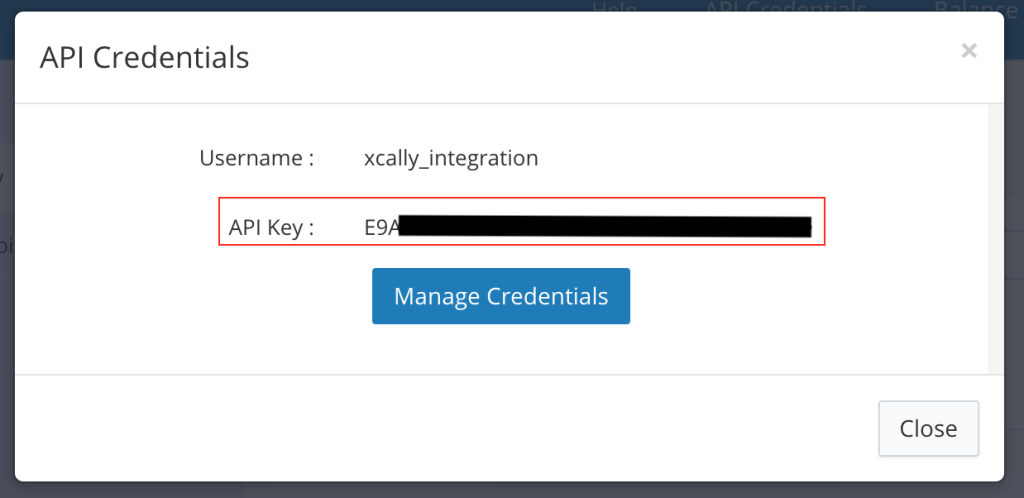
The API Key is the same for each ClickSend account and it could be retrieved in ClickSend Dashboard in API Credentials popup:
- Click on API Credentials

- Get API Key property
Configure incoming message
In order to receive incoming SMS message in your XCALLY Motion Account, you need to properly configure the SMS Inbound Rules in ClickSend SMS Settings:
- Open SMS – Settings section from ClickSend Dashboard
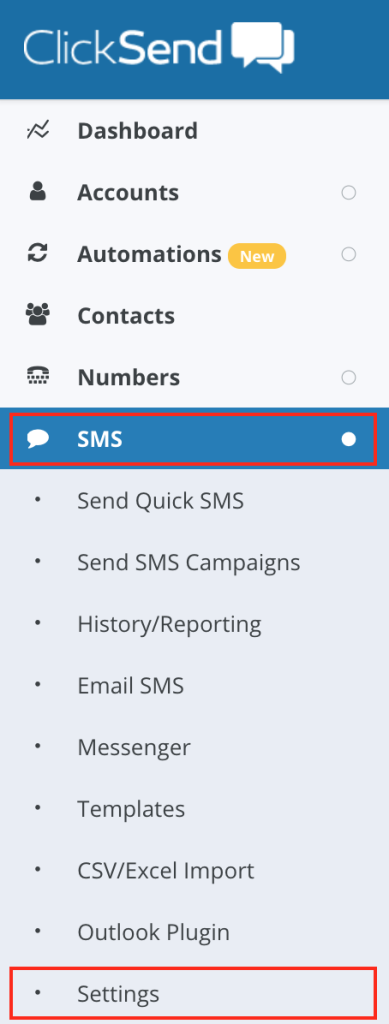
- Open Inbound SMS Settings section
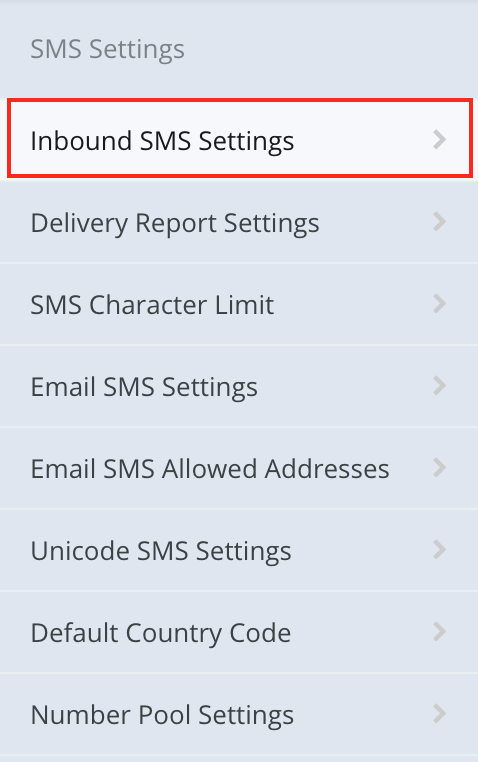
Add new SMS Inbound Rule for your dedicated number as described below
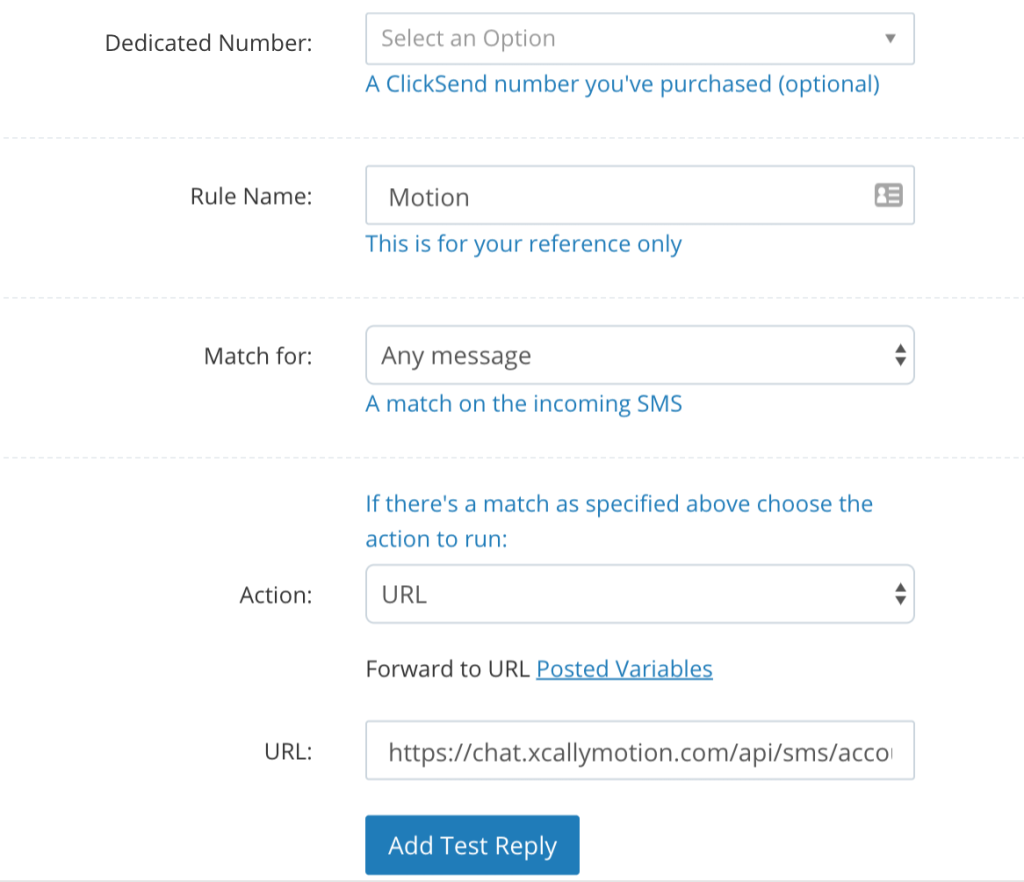
The URL property must be retrieve from XCALLY Motion SMS Account
Configure delivery report
Remember that the message status checkmark is updated when the positive delivery report is received by Motion
In order to receive the Delivery Report for outgoing SMS messages, you need to properly configure the SMS Delivery Report rule in SMS Settings:
- Open SMS – Settings section from ClickSend Dashboard
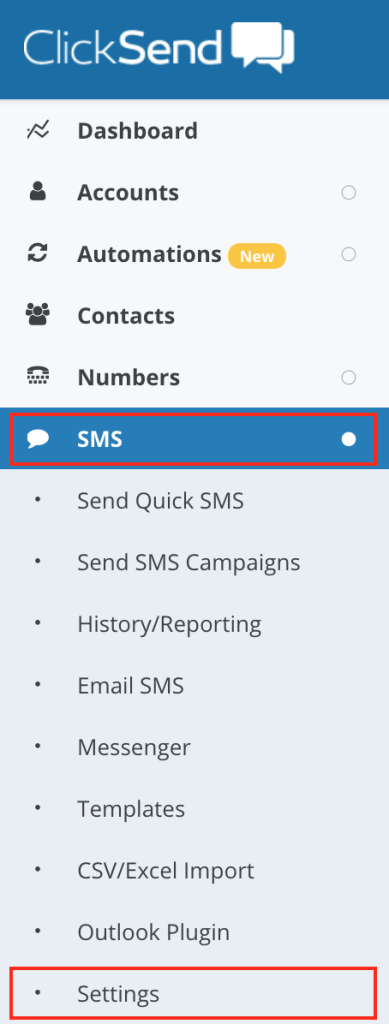
- Open Delivery Report Settings
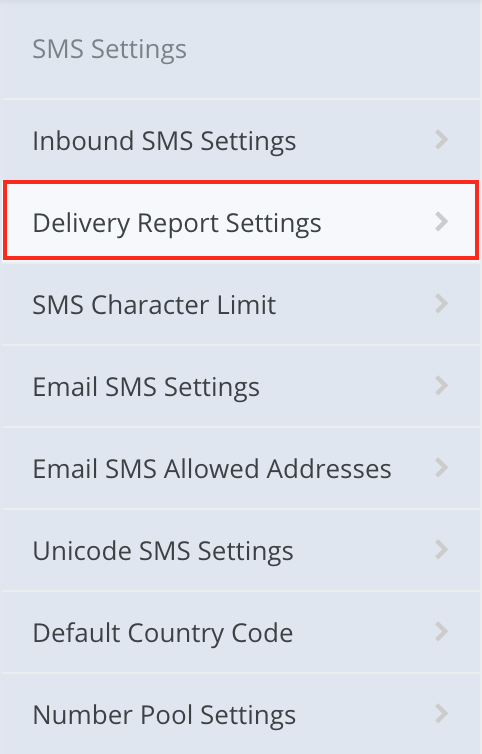
- Add new SMS Delivery Report Rule as described below
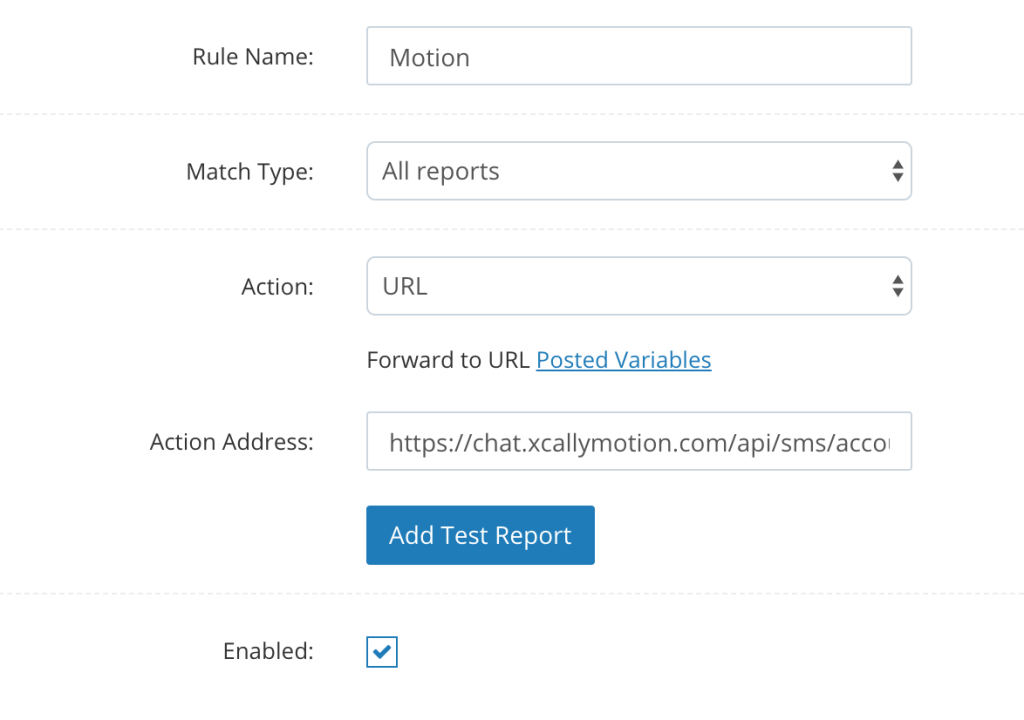
The Action Address property must be retrieve from XCALLY Motion SMS Account
Plivo Configuration
In the following section we will provide you a brief description on how to properly configure a Plivo account on XCALLY Motion SMS Channel.
The message status (checkmark) is automatically updated when the positive delivery report is received by Motion
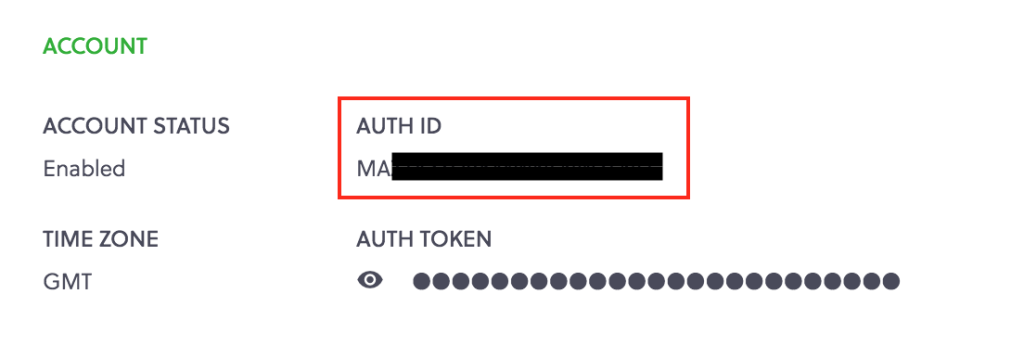
Retrieve Auth ID
The Account SID information is the same for each Plivo account and it could be retrieved in Plivo Console
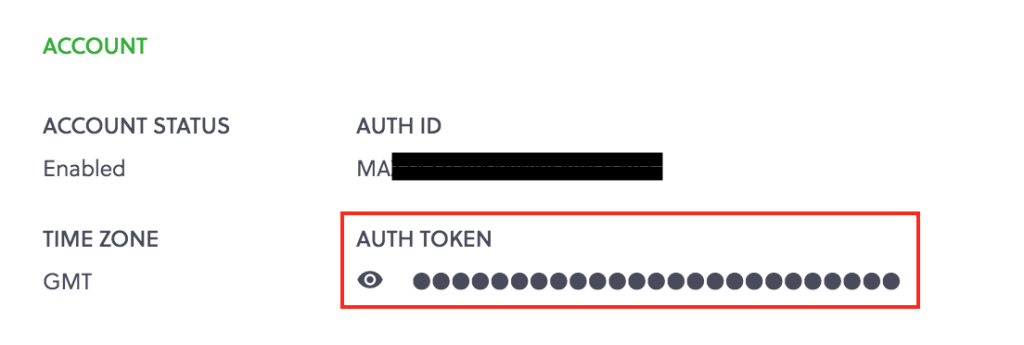
Retrieve Auth Token
The Auth Token information is the same for each Plivo account and it could be retrieved in Plivo Console
Configure incoming message
In order to receive incoming SMS message in your XCALLY Motion Account, you need to add a new application for SMS channel and assign it to your phone number:
- Open Applications section from SMS channel

- Add New Application as displayed in the following image
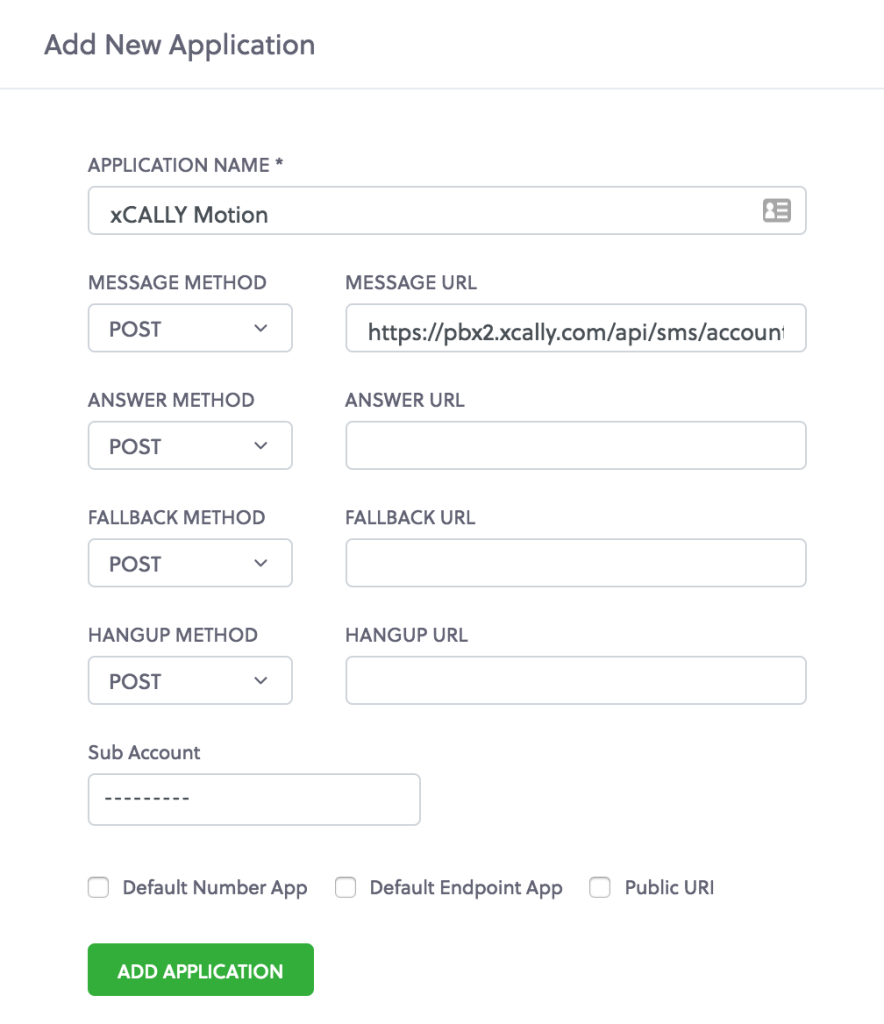
The Message URL property must be retrieve from XCALLY Motion SMS Account
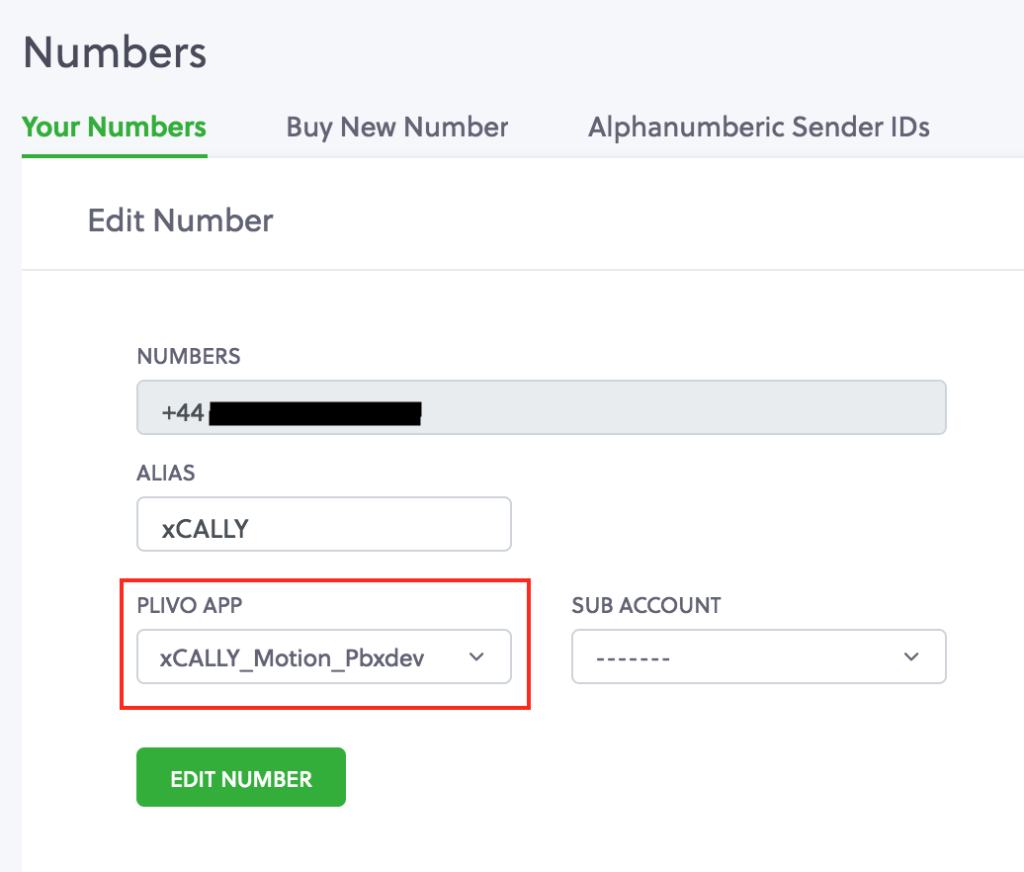
- Open Numbers section from Phone Number

- Edit your number and select your application as Plivo App
Clickatell Configuration
In the following section we will provide you a brief description on how to properly configure a Clickatell account on XCALLY Motion SMS Channel.
First of all you must login to https://www.clickatell.com/ and click on Sign in:

Now you will be asked to choose among three accounts type:
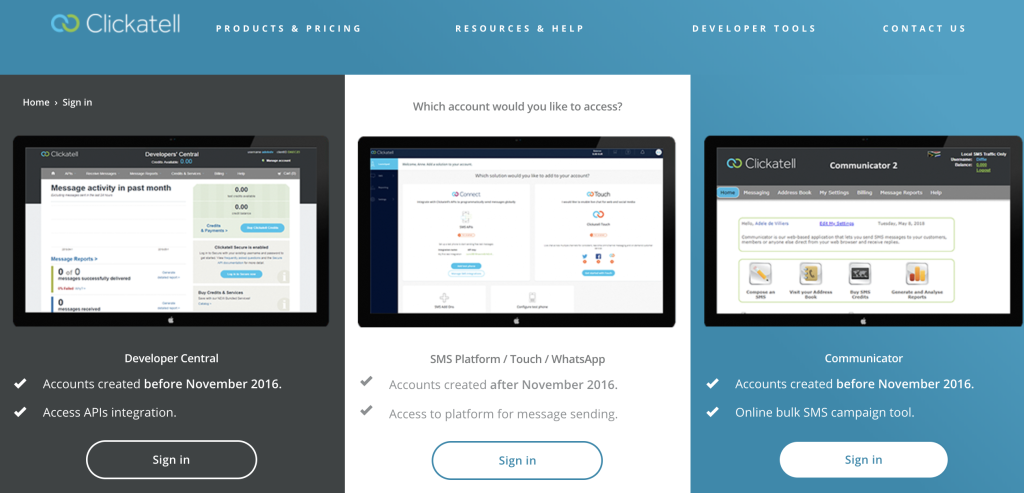
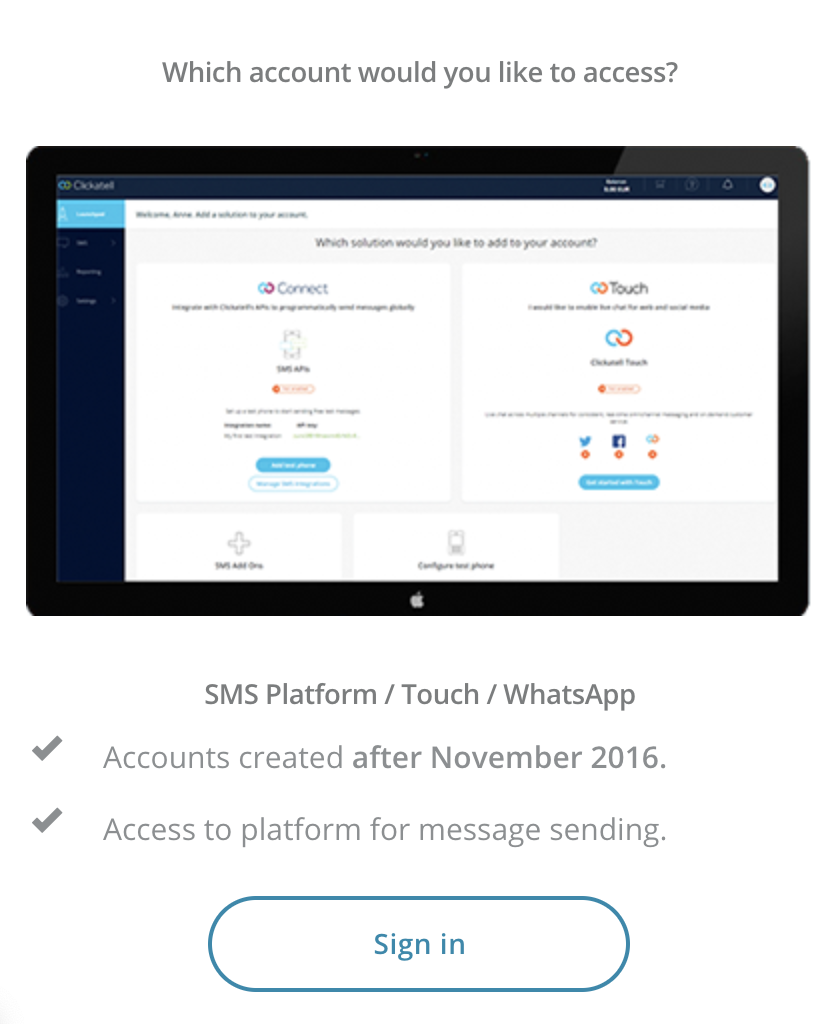
Click on Sign in on the SMS Platform/Touch/Whatsup type
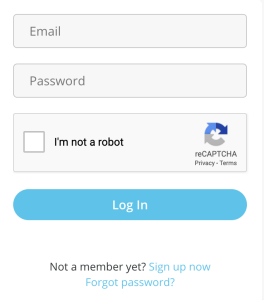
and then login using the your credentials on the Clickatell Portal (https://portal.clickatell.com):
The system will show you the API key for the SMS integration. Click on Manage SMS integration to add the solution account:
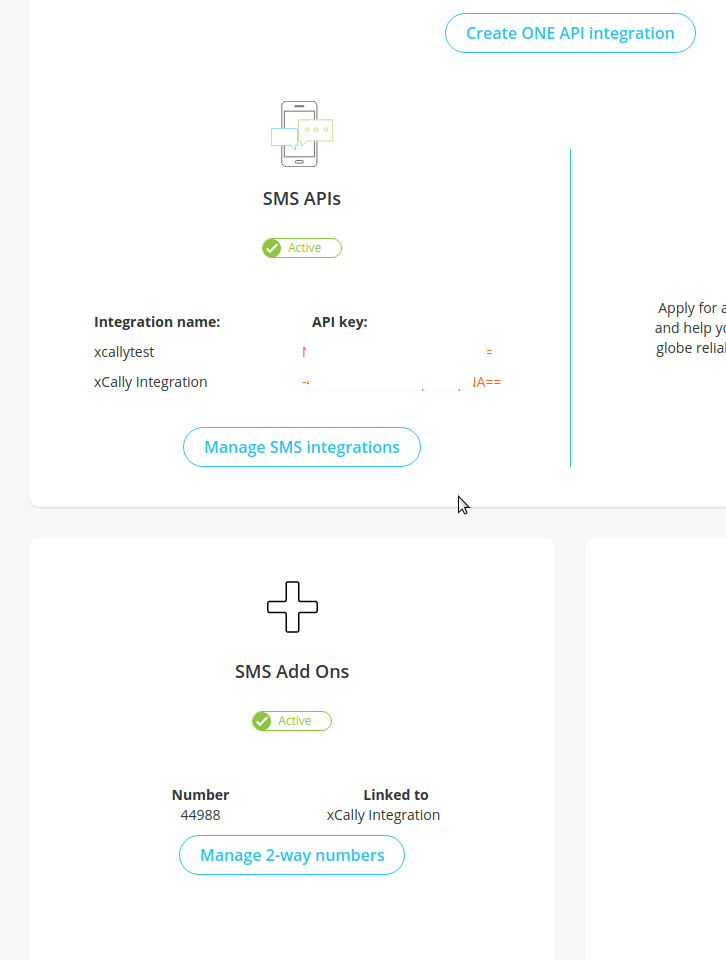
Create the new integration:

following the next steps:
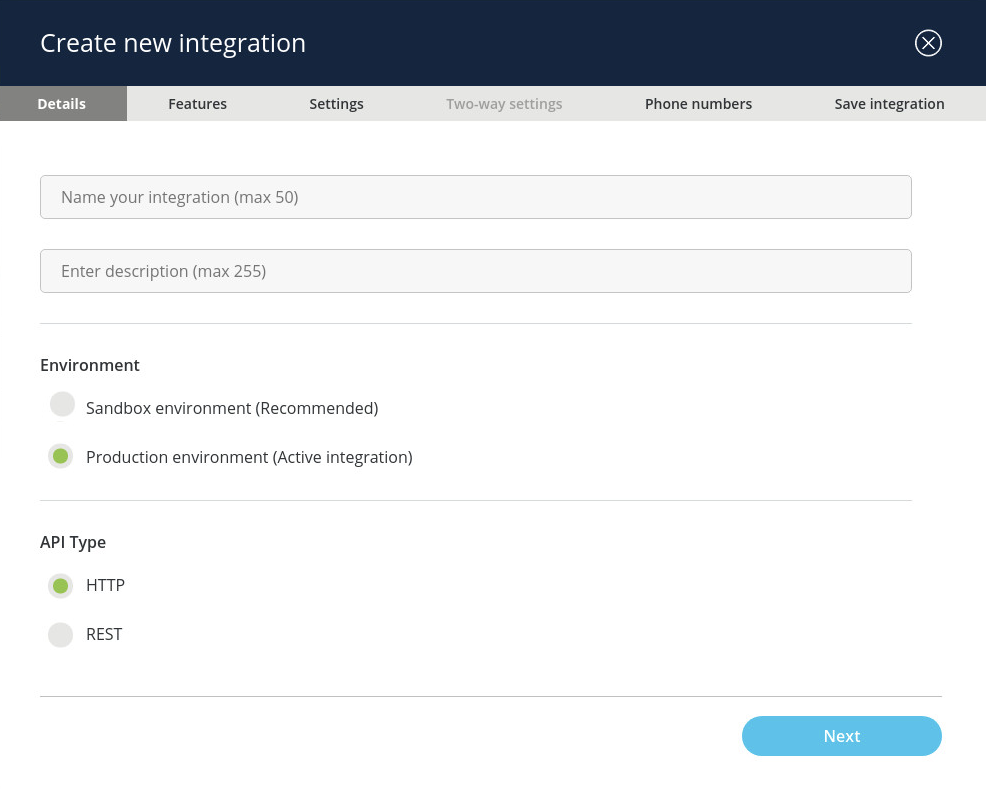
Tab Details: Give a name to your integration (optionally fill describe form): choose Production Environment to obtain an active integration (Sandbox is used by developers). Then click on HTTP Api Type;
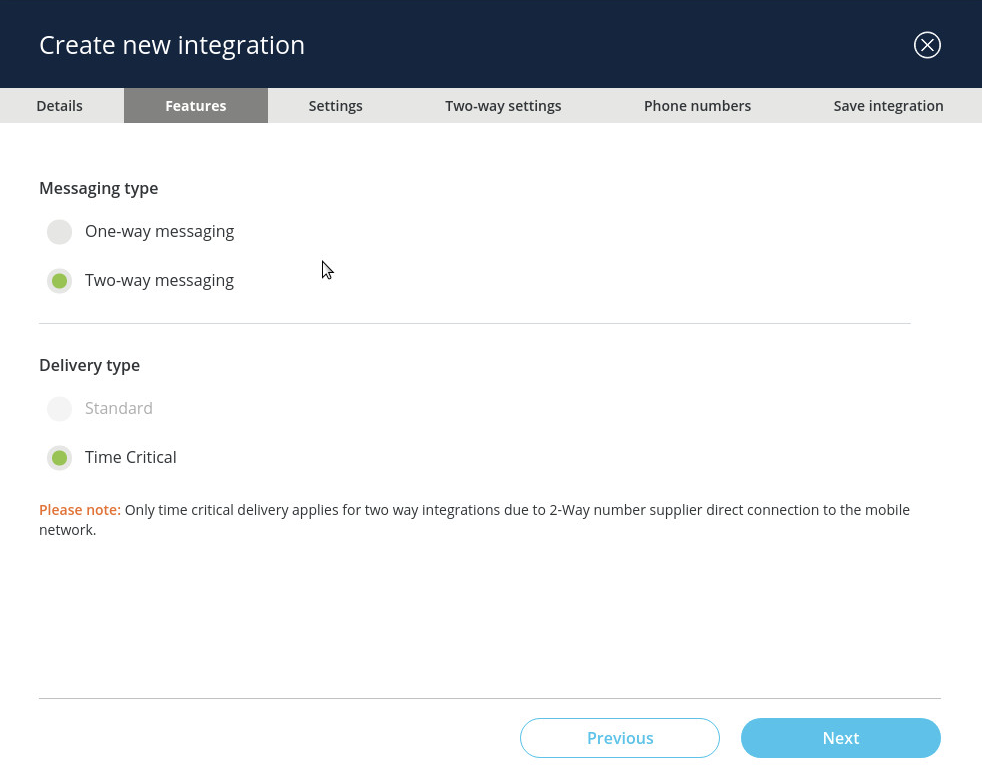
- Tab Features: select Two-Way Messaging (automatically it will select Time Critical as a delivery type)
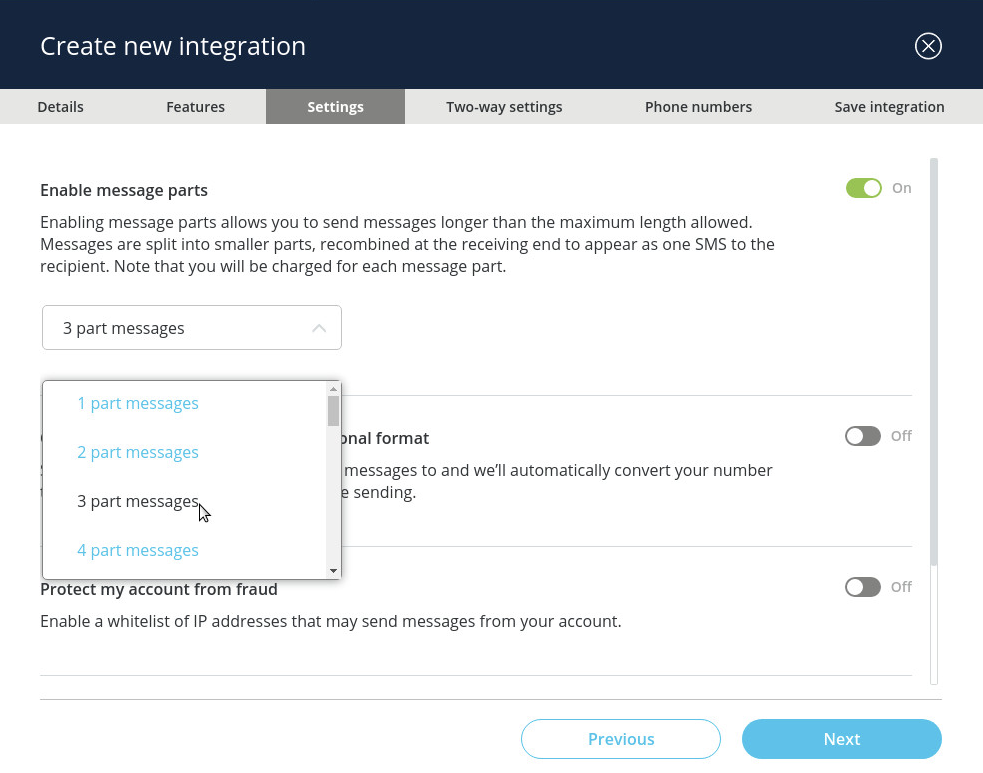
Tab settings: Enable 3 part messages (Optional: it allows you to send longer messages)
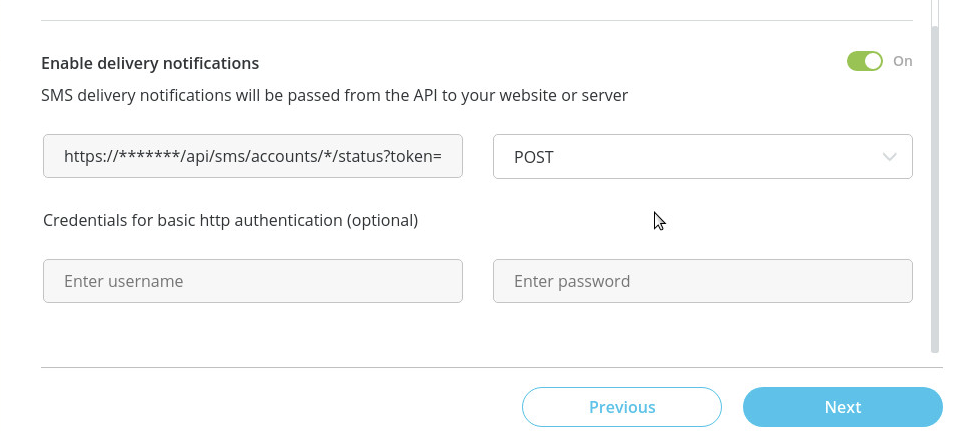
and insert the provided endpoint Url to receive notifications when the Customer receives messages, then select POST method.
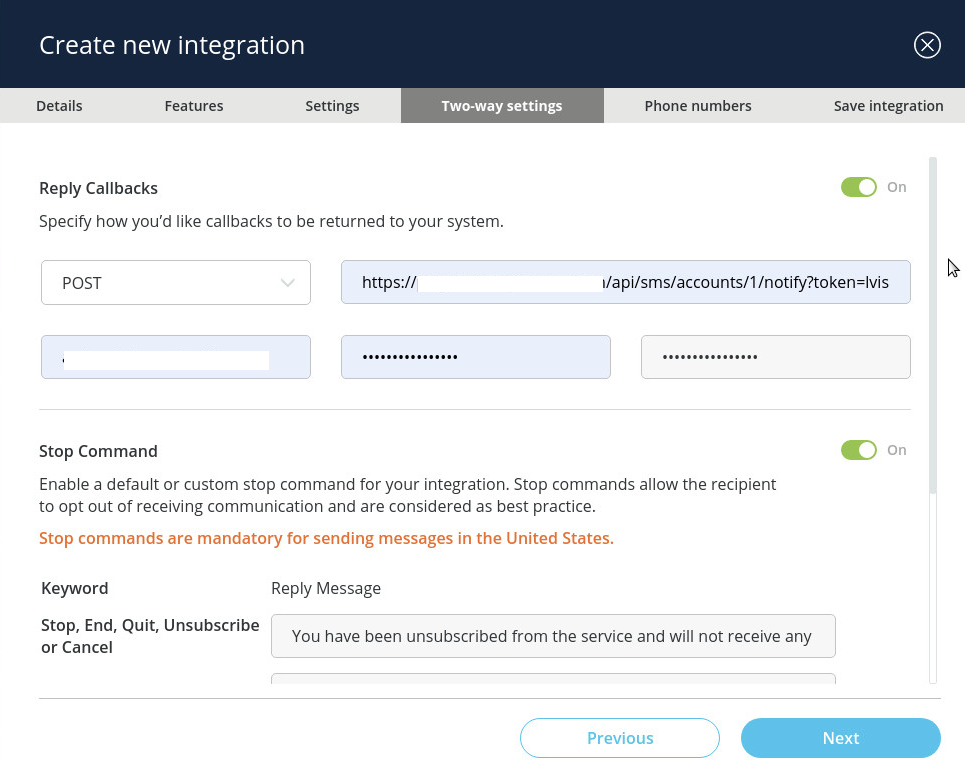
- Tab Two-Way Settings: insert the provided endpoint Url that will receive notification when the Customers send a message to the XCALLY Motion Agent. You can also customize the Stop Commands (e.g. for US, those proposed are mandatory)
At the end Save your Integration.
Now you can check the setting:
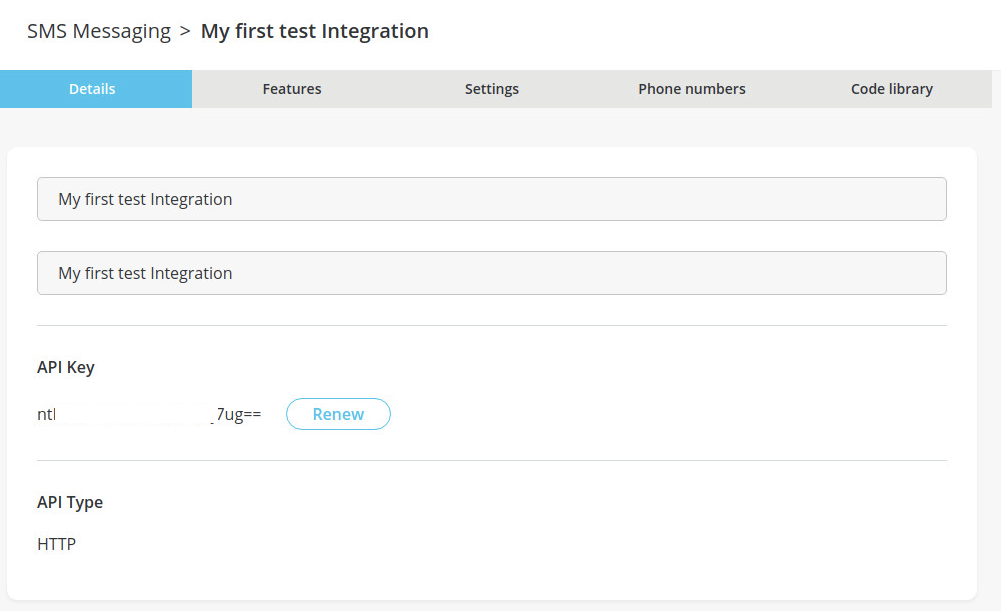
and keep note of the API Key (generated for this integration) that will be used later to create the specific Clickatell SMS Account on XCALLY Motion (mandatory field).
CSCTelecom Configuration
In the following section we will provide you a brief description on how to properly configure a CSC account on XCALLY Motion SMS Channel.
For information on this service and signing up, please contact CSCTelecom at sales@csc.lv or go to https://multisms.lv/en/
First of all, login to the CSCTelecom platform at https://sms.csc.lv/ using your credentials:
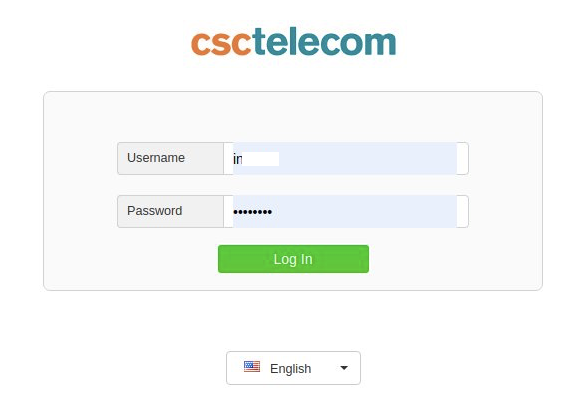
and you will access to CSC messaging dashboard, where you can send messages using the provided numbers:
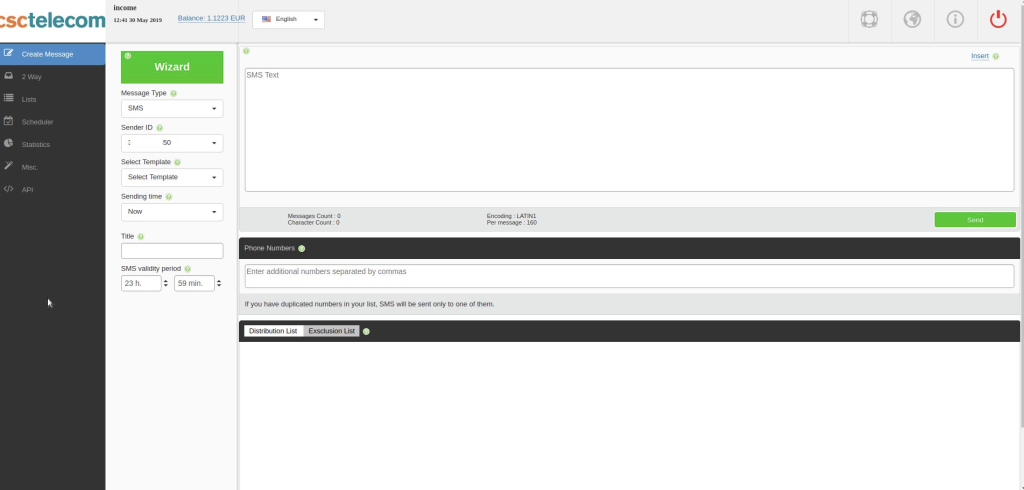
On the dashboard, you can monitor reports about your sent and received messages:
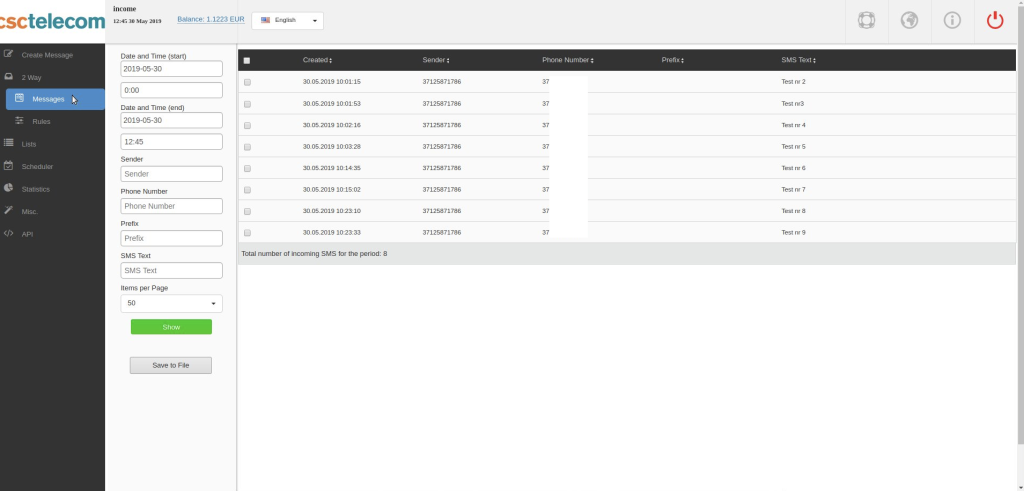
and you can manage your senderID or eventually, you can change it and use a mobile phone (check your SMS messaging contract with CSC).

You can also retrieve useful information about your SMS interactions also in Statistics section, where your interactions will be shown as graphs and delivery reports:
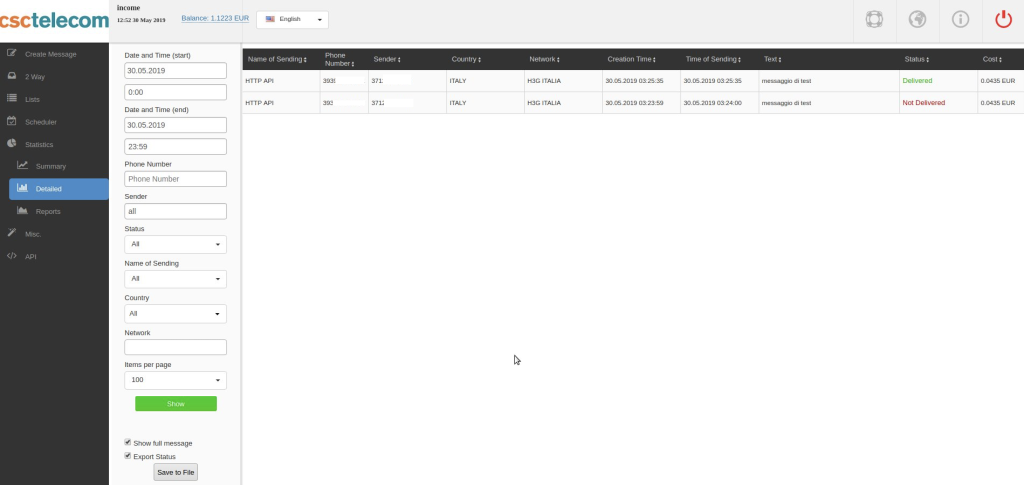
Go to Miscellaneous > Settings:
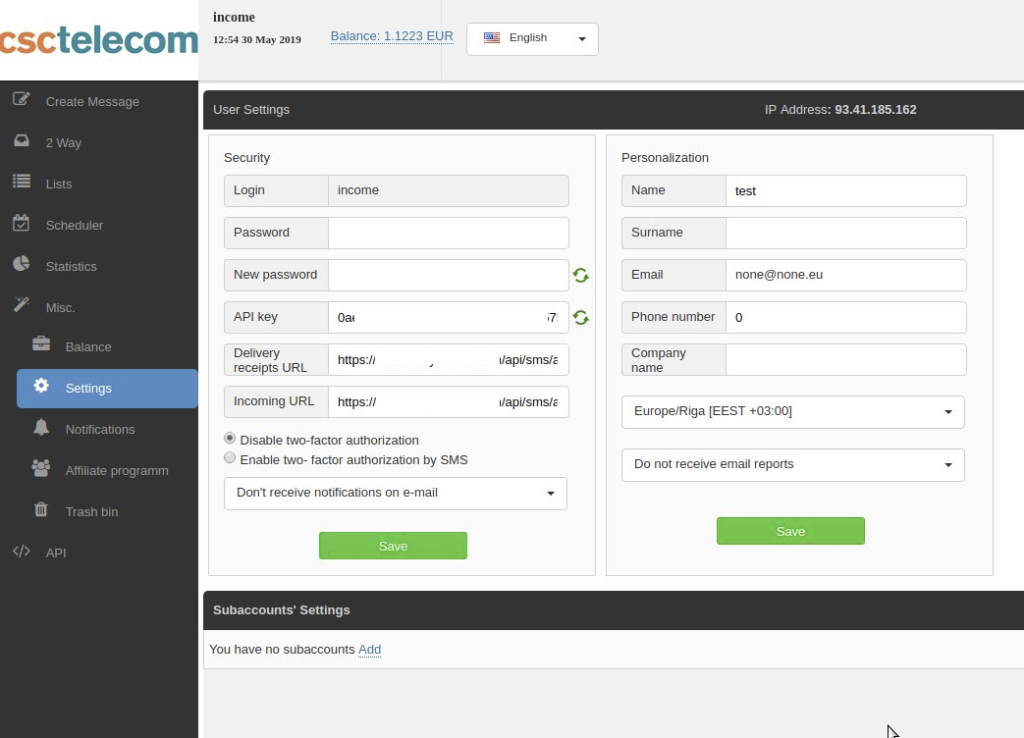
- check your username
- retrieve your generated apiKey (you will use it later on XCALLY Motion SMS configuration)
- fill the fields Delivery receipts URL and Incoming URL, inserting respectively the values retrieved on XCALLY Motion Delivery Report URL and Receive URL:
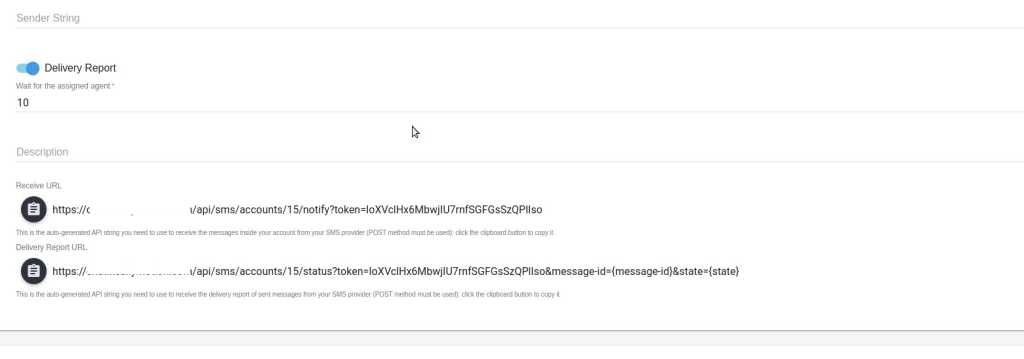
At the end Save all.
Infobip Configuration
The configuration on Infobip is managed directly from the Infobip Support Team.
Contact them in order to get the following:
- name
- password
- telephone number
- Base URL (see
 )
)
and send to Infobip the Receive URL generated by the New SMS Account creation on XCALLY Motion.
When the integration is activated the Infobip Team will notify you.
About Base URL You can also find the Base URL at https://dev.infobip.com/getting-started/base-url ○ To see it, go to Developer Infobip Site (https://dev.infobip.com) and click on LOGIN on the top right○ Insert username and password inside the form mask
○ once returned on the home page, click on HTTP API on the top left, near the Infobip logo
○ go to Base Url, copy the URL generated and past it inside Motion
IntelePeer Configuration
In the following section we will provide you a brief description on how to properly configure an Intelepeer account on XCALLY Motion SMS Channel.
Go to IntelePeer Customer Portal (customer.intelepeer.com), and insert your credentials (username, password) to have access to your IntelePeer Service Dashboard:
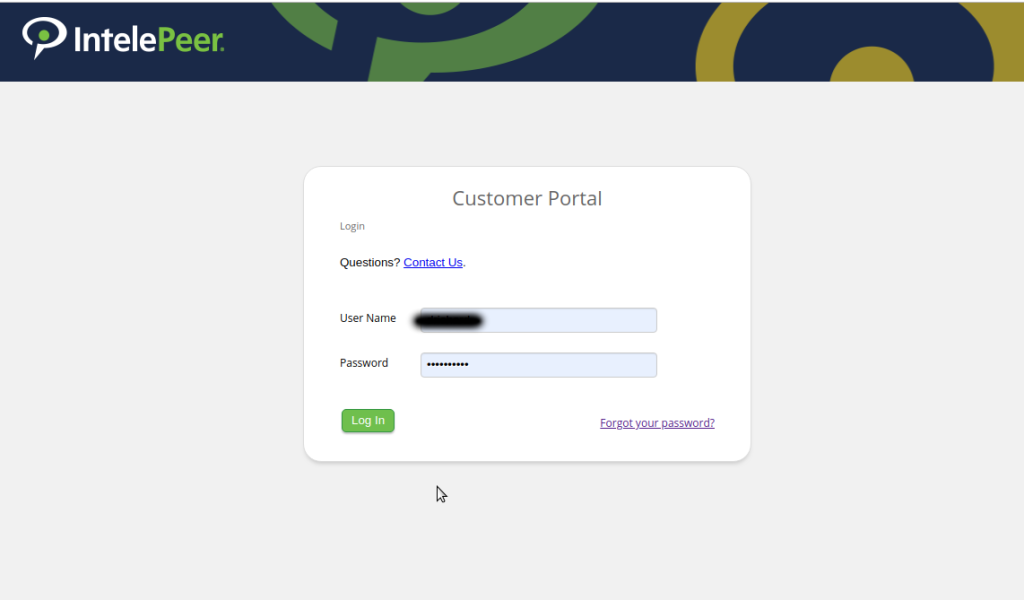
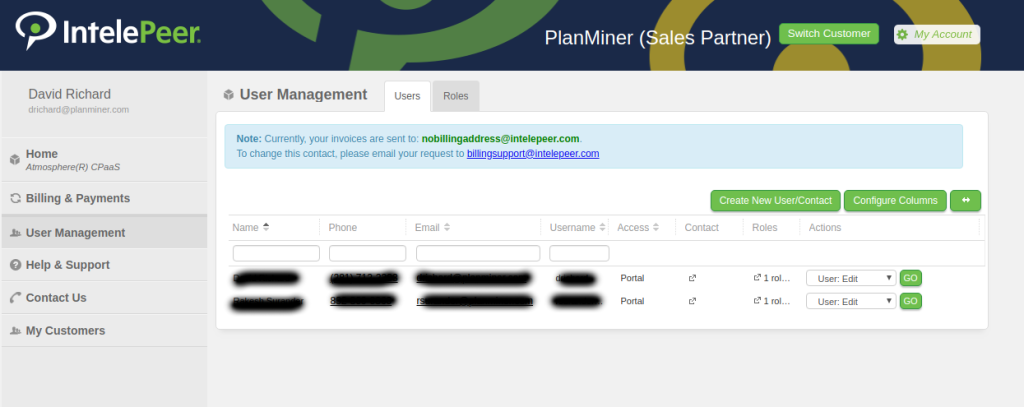
Go to User Management to add new Users and Contacts:
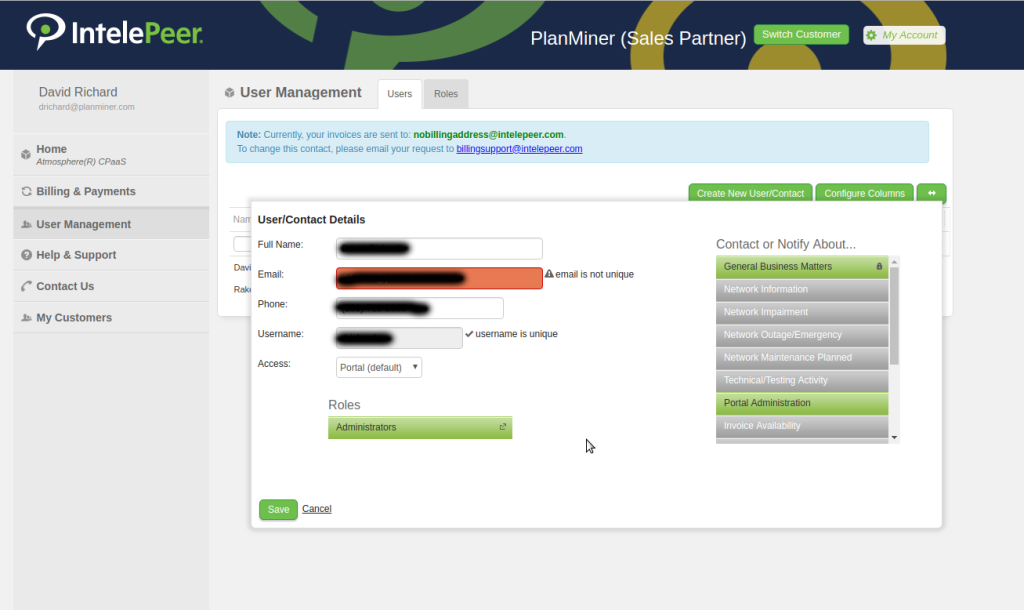
Click on the contact row to open the editor, and manage roles and privileges:
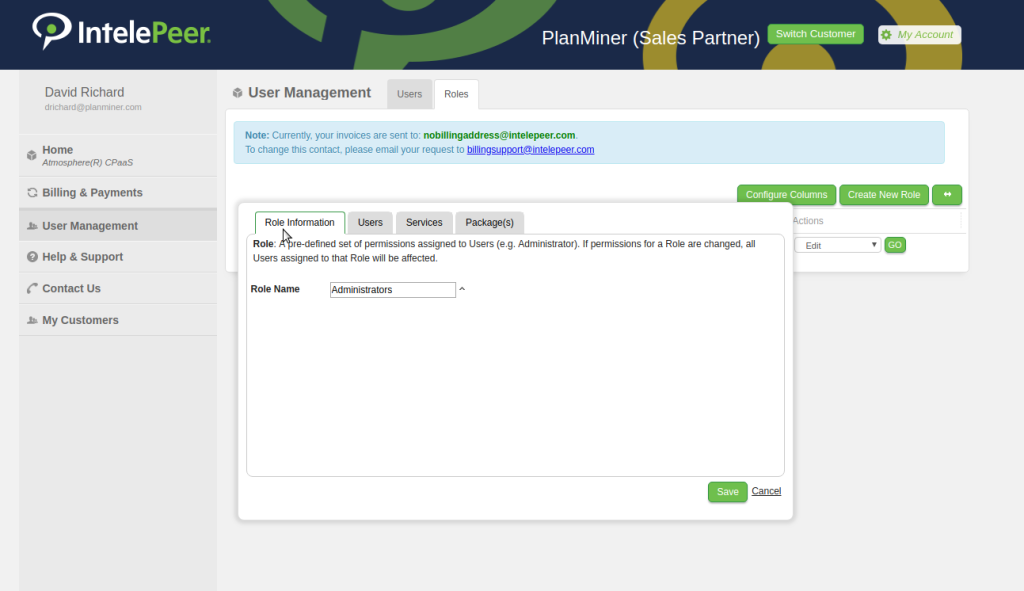
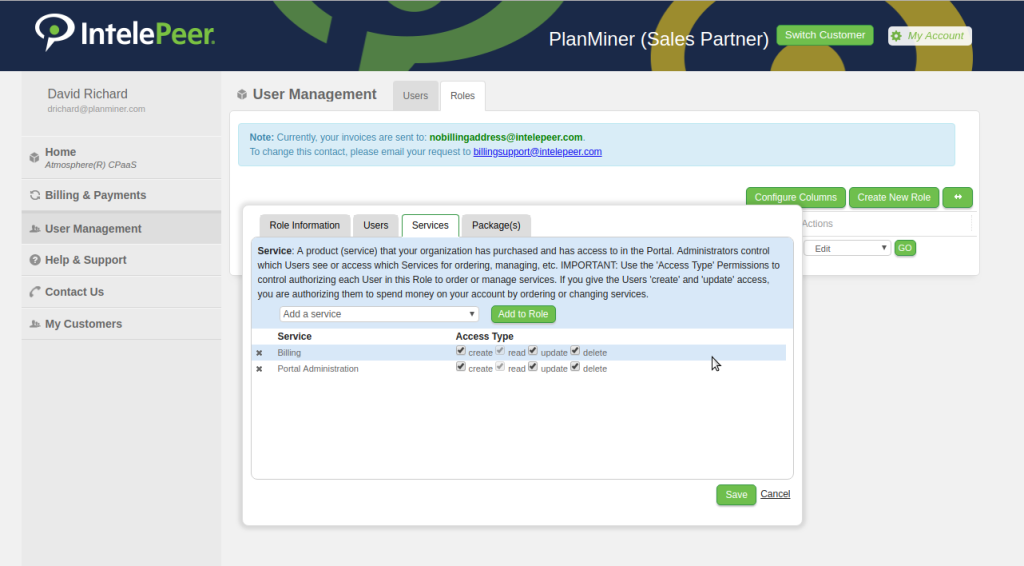
Go to the switch button (you can find it on the website header). Select Trusted Senior Specialist to go to My Application Dashboard (you’ll see four big buttons, each for every service available on the portal. Select SMS service button):
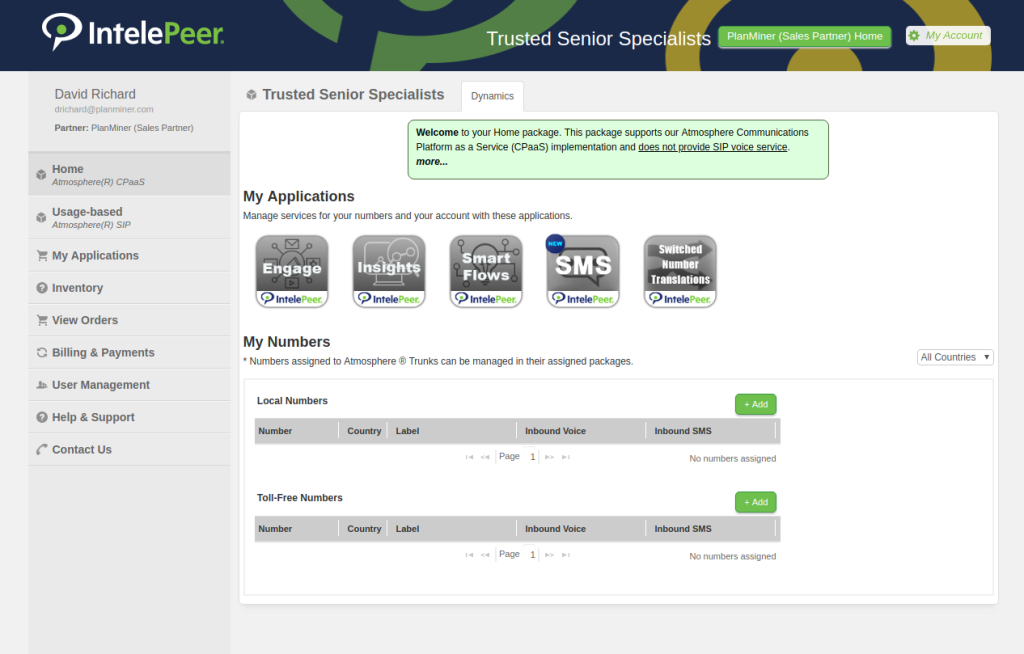
The first dashboard you’ll see is the table list of all the numbers (longcodes and shortcodes) provisioned by IntelePeer to send SMS to customers.
Take note of one of your provisioned numbersand control if they are enabled (they will be used to create XCally Motion SMS Accounts):
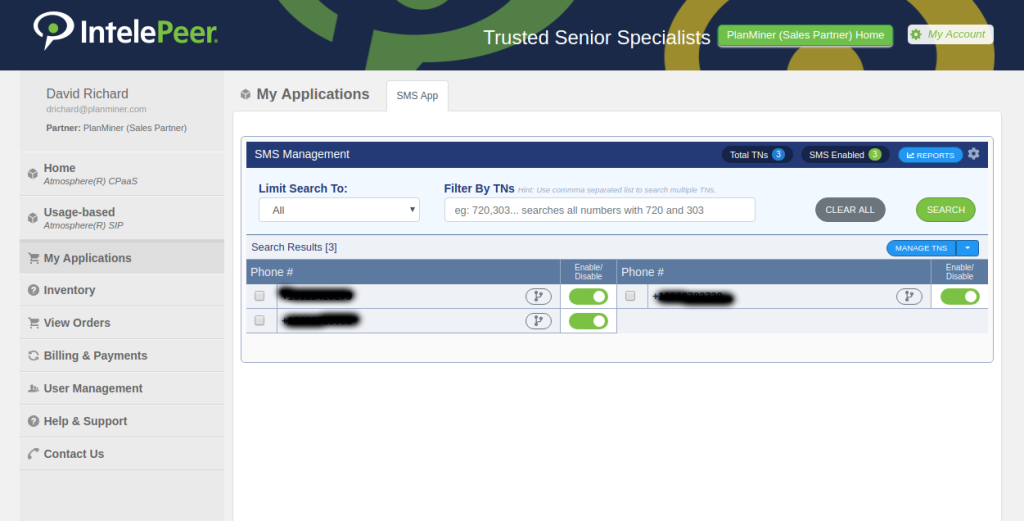
You can create as many accounts on Motion as the numbers enabled on IntelePeer portal, but you can associate only one number to each SMS account.
Click on the cog icon (you find it on the right corner) to open SMS management submenu. Here you can create an apiKey (1 month, 6 months, 1 year expire period available), that will be used to grant permissions to all REST API actions performed by XCally Motion Sms Integration:

Now you’re ready to create your first Intelepeer SMS account (to do this, remember to take note of one of your enabled numbers and of the generated apiKey).
Bandwidth Configuration
In the following section we will provide you a brief description on how to properly configure a Bandwidth account on XCALLY Motion SMS Channel.
The message status (checkmark) is automatically updated when the positive delivery report is received by XCALLY Motion
After creating a Bandwidth Account with a telephone number associated to it, follow the instructions below to configure the interaction with XCALLY Motion.
Retrieve Account ID
The Account ID can be conveniently found in the URL when logged in to the Bandwith Dashboard , as well as in the top right-hand corner of the landing page.
AccountId Location in Dashboard URL: https://dashboard.bandwidth.com/portal/r/a/{accountId}
Retrieve Application ID
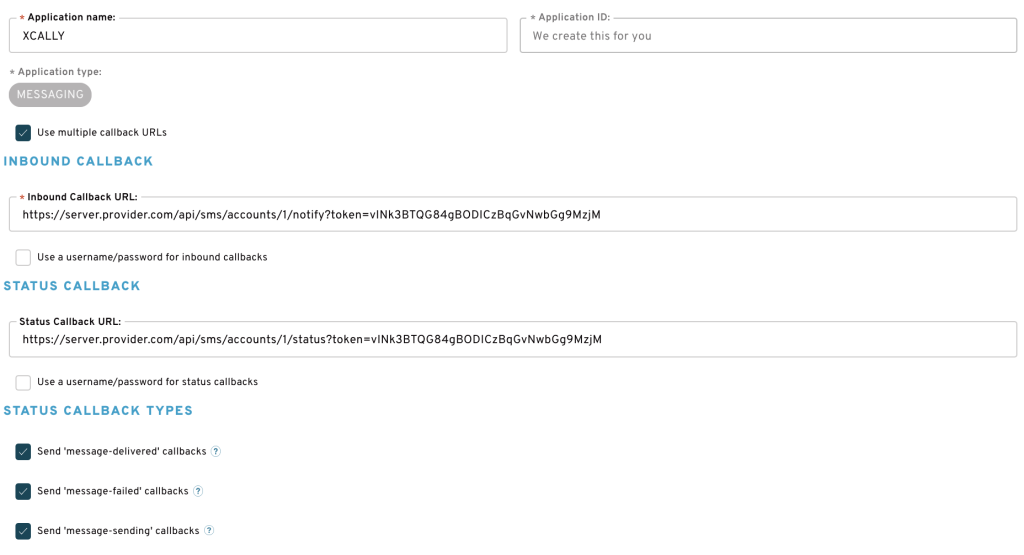
For the integration, you need to configure an Application in your Bandwidth account:
- Open Bandwidth Dashboard
- Open the Applications section and click on Create New on the left
- Fill the following fields:
- Application name
- Enable Use multiple callback URLs
- Inbound callback URL (Receive URL from SMS Account configuration)
- Outbound callback URL (Delivery Report URL from SMS Account configuration)
- Enable message-delivered, message-failed and message-sending callbacks
- Finally press Create application button to retrieve Application ID

Once the app has been configured, you need to link the app to the phone number via the location:
- Open Bandwidth Dashboard
- Open the Applications section and select the application on the left
- Scroll down to ASSOCIATED LOCATION section and click on + ASSOCIATE LOCATION button
- Select the Location associated to your Phone Number and Save
Retrieve Credentials
For the integration it is possible to use the username and password of the Bandwidth account or sub-account, or it is possible to generate the API Credentials:
- Open Bandwidth Dashboard
- Open the Applications section and click on API CREDENTIALS at the top right corner

3. Press CREATE NEW button to generate a new API Token and API Secret


