What are the Email Accounts?
With XCALLY Motion you can share a single mailbox among several agents and use it in a way similar to a voice queue.
XCALLY Motion offers a web client email specific for Customer Care needs, where the Agents share all information: what you need to do is just to configure IMAP accounts, already existing on your provider, and manage email exchange using XCALLY Motion, as well as for the other channels.
The Email Accounts Section
In this Section you can add New Email Accounts and manage the existing ones.
Add a New Email Account
Click on to add a New Email Account:
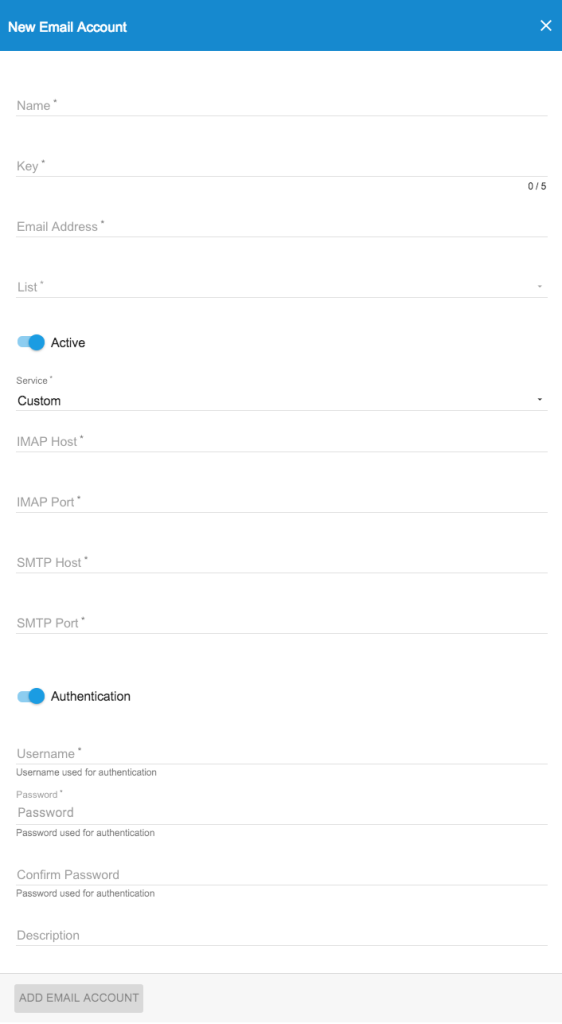
Insert the requested values:
- Name: the name of the email account
- Key: here you can define a short name (5 char maximum) for the Account that will be shown on the Agents Tabs
- Email Address: the origin email address of the messages (shown in the from field)
- List: the default List where the new email contacts will be saved in the Contacts Manager (see Lists), if it is not already there
- Active: turn this flag on/off to activate/deactivate the Account
- Service: you can select
- one of the available default services and simplify the SMTP server configuration (i.e. Gmail, Yahoo, Hotmail, Outlook 365);
- Custom and specify the following values:
- IMAP Host: IMAP address for receiving email (ask your email service provider)
- IMAP Port: IMAP server typically listens on port number 993
- SMTP Host: SMTP address for sending email (ask your email service provider)
- SMTP Port: mail clients often submit the outgoing emails to an email server on port 465
- Authentication: turn this flag on to activate Security (using encryption protocol) using the following:
- Username: authentication username
- Password: authentication password
At the end click on Add Email Account.
On the Email Accounts list, click on![]() to:
to:
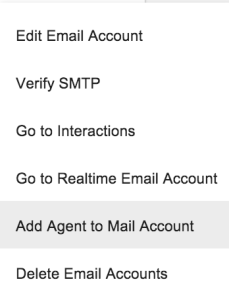
- Edit the Email Account
- Verify SMTP connection
- Go to Interactions list for the Account
- Go to Realtime Email Account
- Add Agent to Email Account
- Delete Email Accounts

Edit an Email Account
Editing an Email Account you have a list of Sections:

Settings
General
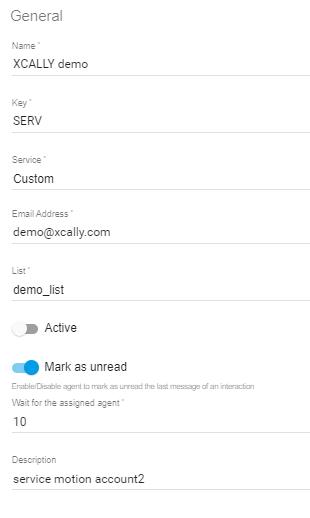
In this section you can edit all the values inserted when adding the Email Account and:
- activate/deactivate the Account
- set the Mark as unread setting allows Agents to receive mail interactions on this account and mark them as unread
- set Wait for the Assigned Agent value, which is the default time in seconds any new interaction belonging to an existing conversation waits for the same agent that is currently managing it, when the agent is not available on the system (paused or logged out). The allowed values range is 1-2147483 (default is 10 seconds)
- write an optional Description
IMAP
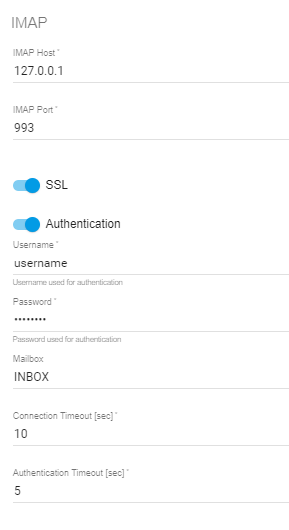
In this section you can define the parameters for the Internet Message Access Protocol used by multiple email clients to access simultaneously to an email server in order to retrieve messages.
You can review or change the following values:
- SSL: enable/disable the Secure Sockets Layer encryption protocolto secure communication
- Authentication: enable Authentication to login
- Username: username for authentication inserted during email account creation
- Password: password for authentication inserted during email account creation
- Mailbox: default inbox used
- Connection Timeout (sec): timeout for connecting to the server (default=10. You can increase this value if necessary)
- Authentication Timeout (sec): timeout for authentication (default=5. You can increase this value if necessary)
SMTP
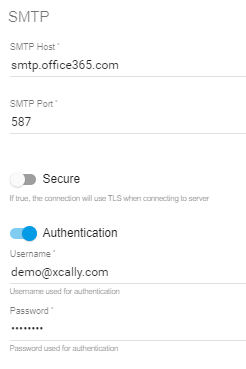
In this section you can define the parameters for the Simple Mail Transfer Protocol, the internet standard for sending electronic mail to an email server for relaying.
You can review or change the following values:
- Secure: If enabled, the connection will use TLS when connecting to server
- Authentication: enable Authentication to login
- Username: username for authentication inserted during email account creation
- Password: password for authentication inserted during email account creation
To test SMTP connection, from the Email Accounts list, click on![]() :
:

Advanced
Template
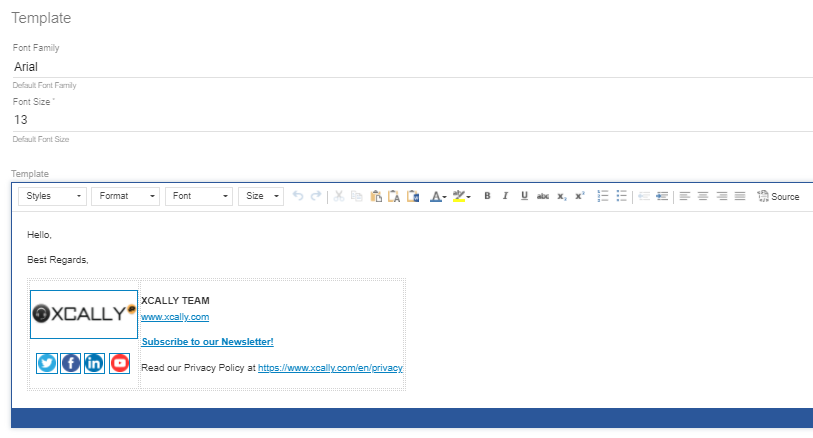
You can define a Template, where you can specify a default body (font family, size and text) of all email messages sent from this account.
You can also insert your company logo, define the text style and other parameters.
It is also possible to insert variables in this section in order to render some dynamic contents.
Notification
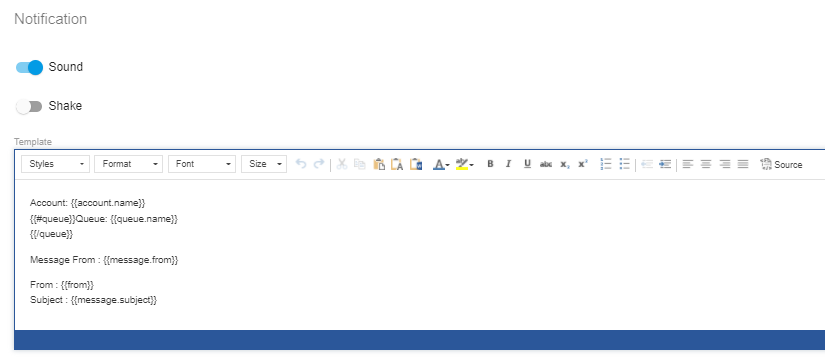
The Administrator can customize the notification of a new interaction in order to show to the Agent information about the source, the sender, the recipient queue and so on.
The Setting section of the Notification is under the general settings of a channel account and allows to:
- enable/disable the notification sound
- enable/disable the notification shake effect
- define notification contents and style in the Template section (here you can define which information to show about the specific interaction using XCALLY Motion variables).
Transfer
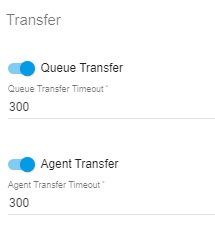
The Transfer section allows you to define if the email messages received by the account can be transferred by Agents to a Queue or/and to another Agent.
When the flag is switched on, you must define the timeout (the time in seconds the message will wait to be accepted before returning back as unread) for any specific option.
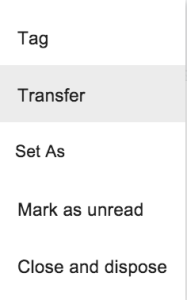
If at least one of this flags is enabled, the agent will see this option among those available in order to manage an email interaction:
Disposition
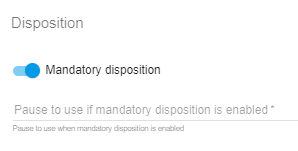
Enable Mandatory Disposition feature if you want the Agent to be forced to dispose the interactions managed and set the Agent pause status to be automatically applied during this operation (default=NO).
Dispositions
The Dispositions created here will be available when the Agent disposes a mail message coming from this account.
The Disposition is a label (or a set of labels, maximum in a three level hierarchy) that can be applied to each interaction record in order to better describe it.
For example, an Agent who has managed a call can use a disposition in order to indicate the type or resolution of the call itself, but this can be done for any type of interaction (as email, chat, sms, whatsapp messages, and so on) when this is closed.
By default, the following dispositions are usually available on your system (if your Administrator has not deleted one or more of them) :
- Fax
- Answer Machine
- Interested
- Not Interested
- Sold
- Special
but new Dispositions which are more suitable to your organization can be easily created. In the Tools- Dispositions section the Administrator can add global dispositions available for all the environment, in addition to specific dispositions that can be created for specific environments (as lists, channel accounts and websites).
To create a specific environment disposition, click on New Disposition![]() and enter the details:
and enter the details:
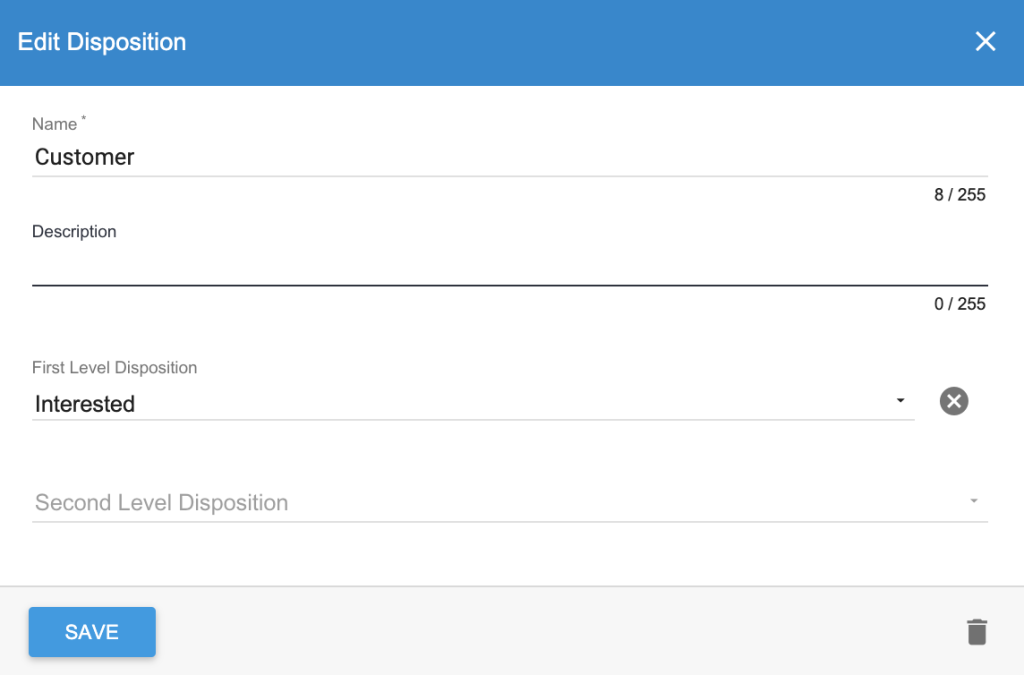
- Name: name of the disposition that will be displayed for agents managing contacts in this list
- Description (optional)
- First Level Disposition (optional): choose, from among the dispositions already present on the system, a disposition to which this refers in a two-level hierarchical relationship
- Second Level Disposition (Optional): choose, from among the dispositions already present on the system, a disposition to which this refers in a three-level hierarchical relationship
Click Save to confirm. After the disposition is created, you can view, edit or delete it (in the List of Dispositions)
Multi level dispositions You have the possibility to create multiple level (maximum 2) for each disposition:In the example shown in the image above, when Agents close and dispose an interaction they can choose a single level or a multi-level disposition (for example the combination # 1 # 5 # 7 or the combination # 1 # 5 # 6)
Canned Answers
Here you can set a list of canned answers that will be available only when the interaction comes from that Account.
Click on![]() to find a specific item from the list:
to find a specific item from the list:

or click on ![]() to add a new one:
to add a new one:
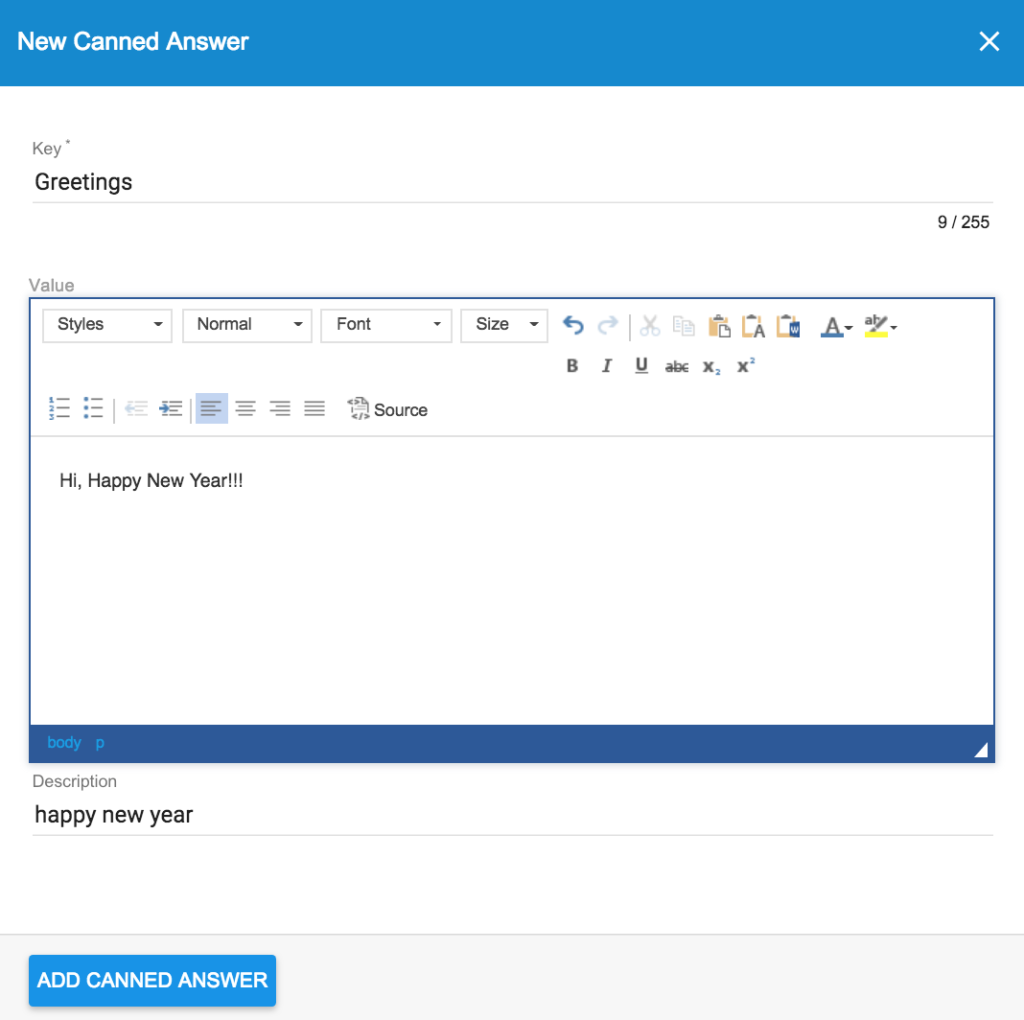
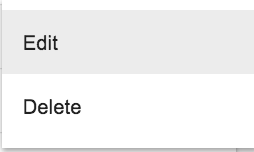
Canned Answers can be deleted or edited and modified: click on![]() and choose the command you want to start:
and choose the command you want to start:
General (marked by a![]() small icon) and Local (specific for Account and marked by the Channel type icon) Canned Answers will be available as a blended list when exchanging messages from the Agent interface.
small icon) and Local (specific for Account and marked by the Channel type icon) Canned Answers will be available as a blended list when exchanging messages from the Agent interface.
Actions
In this section you should define the Actions for the email account to be executed by adding applications, working rules and intervals:

Interactions
In this section you can find the list of all the email interactions occurred on the Account.
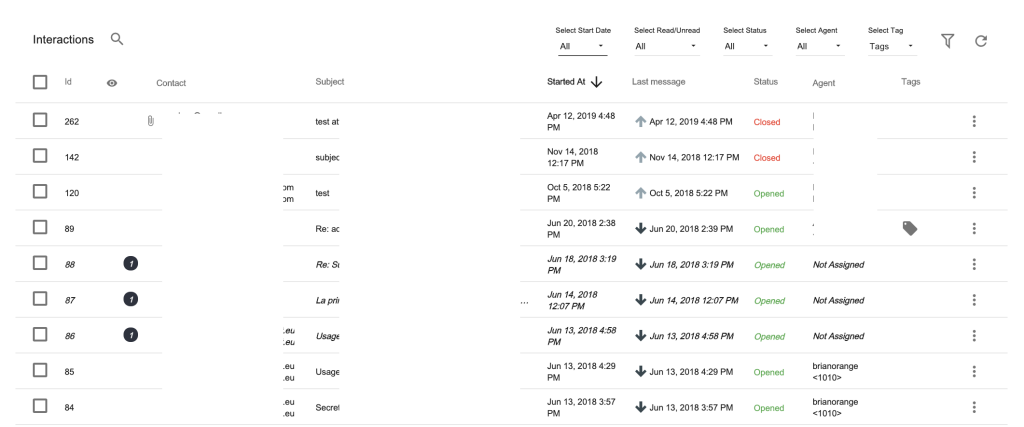
You can filter the interaction list by Start Date, Read/Unread, Status (Open/Closed), Website, Agent, Tags:

or use the![]() button to activate the Advanced Search and select a field to be matched with a value among a list of all those available.
button to activate the Advanced Search and select a field to be matched with a value among a list of all those available.
When you click this button, the system will show you the following form:

- Select the Field (scroll the list of all the available search fields)
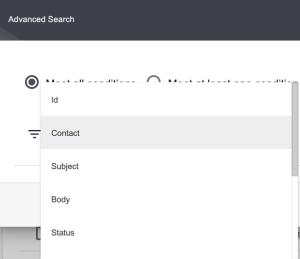
- Select the Operator among those available (eg.: equals, contains, starts with, and so on)

- Select or insert the Value

- Add the Condition (click on
 )
)
To add more conditions repeat the operation, like in the following example:

and choose whether the conditions must all be met:

or at least one of them:

When you finish, click on the  button in order to start the search: the q
uery is executed and all the items that match the conditions inserted are shown.
If you want to delete the advanced search condition inserted click on the single search condition button ![]() to delete it or click on the
to delete it or click on the  button in order to delete all the conditions set at once.
On this form it is possible to:
- modify a condition set: click on a set condition and press Edit
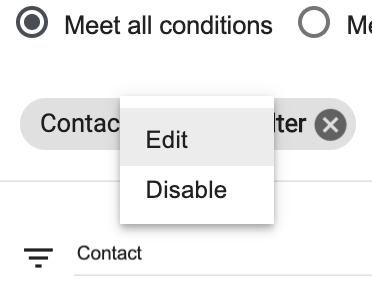
now change the condition as you like(field, operator, value)

- temporarily disable the search condition: click on the set condition and press Disable:
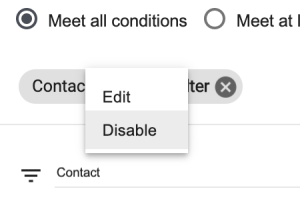
and enable it again
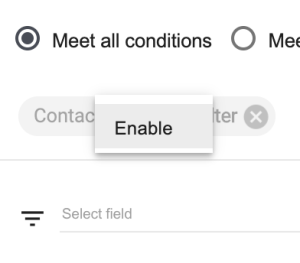
When an advanced search selection is active As long as the search conditions are operational, the Advanced Search button will notify it by changing its color (light blue on a white background) and blinkingThe Advanced Search conditions will search all the List of the available entries, regardless of any filter applied to the list view using the above mentioned filters:
On this list, you can select one or many mail interactions and download the information about them in a CSV file (click on the corresponding checkbox and then on the icon ![]() ) or delete them (click on the corresponding checkbox and then on the trash bin
) or delete them (click on the corresponding checkbox and then on the trash bin ![]() ):
):

On the single interaction, the Supervisor can use the three dots command menu ![]() in order to:
in order to:
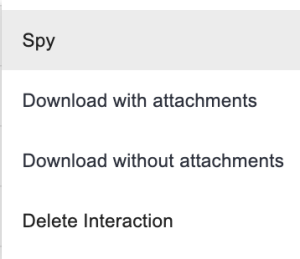
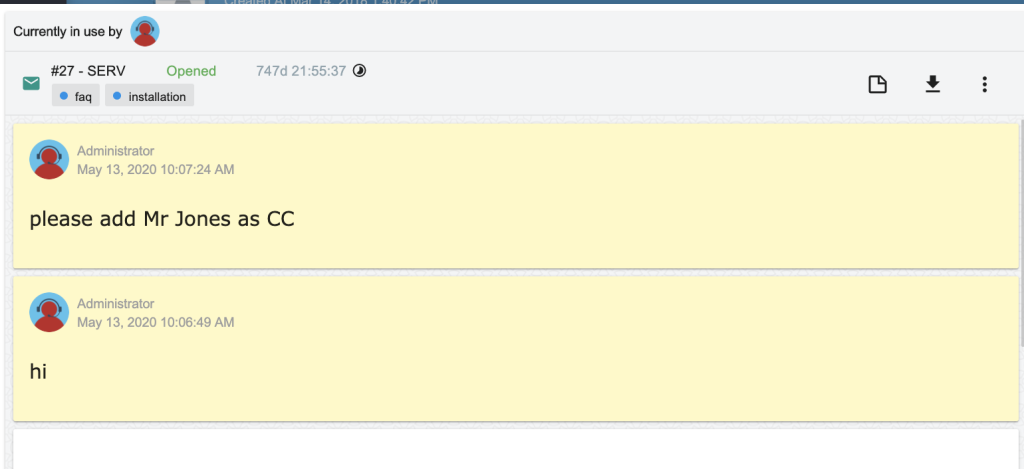
- Spy (namely watch) the contents of an interaction thread. Here the Supervisor can add an internal note (this will not be viewed by customers but only by internal agents), like in the following example:
- Download with Attachments downloads a zip file containing all the messages (numbered list of .eml files and attachments) exchanged in the thread
- Download without Attachments downloads a zip file containing all the messages (numbered list of .eml files without the attachments) exchanged in the thread
- Delete Interaction permanently deletes the chosen interaction (a confirmation is required)
Interactions log files

Interactions history is saved in files which are specific per channel.
Add Agent to Email Account
On the Email Accounts list you can add Agents in two ways:
- select the Email Account and click on
 , than choose the menu entry Add Agent to Email Account:
- edit the Email Account and than click on the add menu button:

and select the agents from the list:
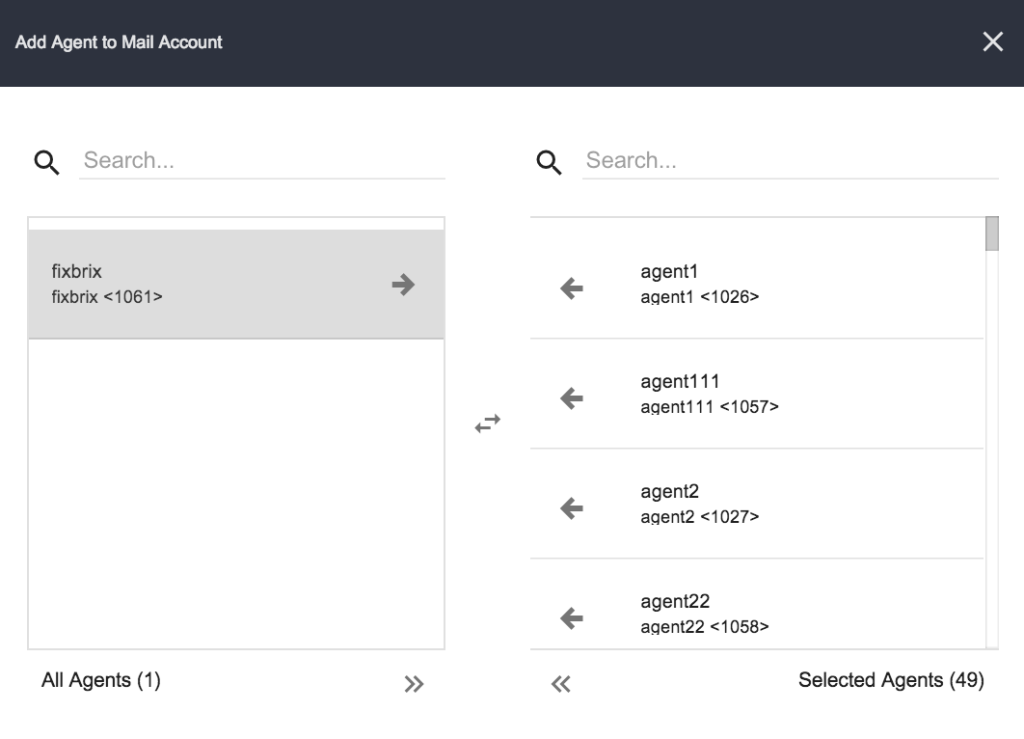
If the agents are not added to the Email Account, they will not be able to see the interactions exchanged in this account interactions list.

